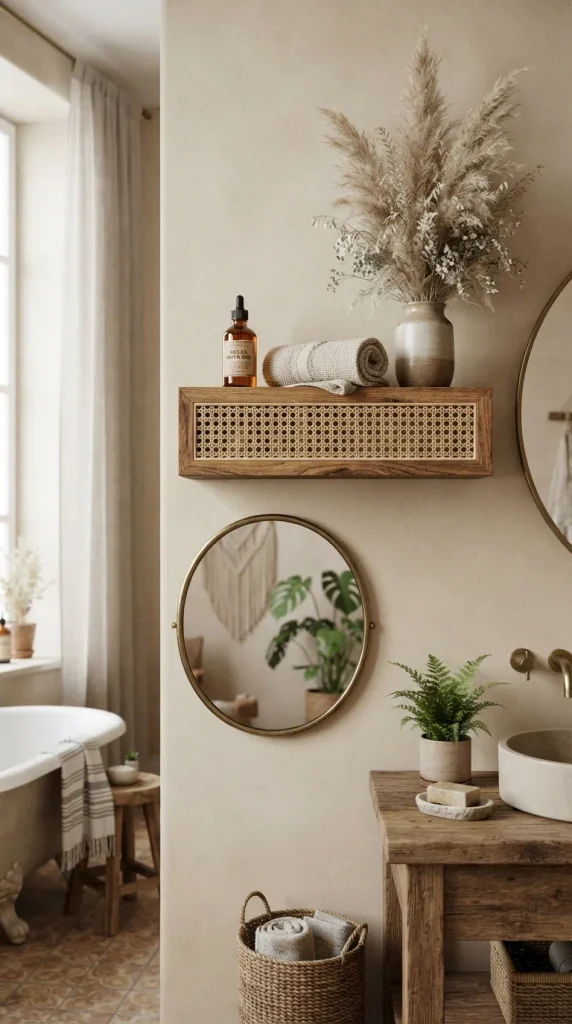
5. Rattan and Cane Webbing Floating Shelves
Introduction
Infuse bohemian warmth and organic texture into your bathroom with rattan and cane webbing shelves. This design introduces natural plant fibers that thrive visually in spa-inspired environments.
What This Idea Means
Cane webbing celebrates traditional craftsmanship and relaxed coastal living. It softens hard tile surfaces and adds breathability, making the bathroom feel light, airy, and deeply connected to nature.
How to Make It
- Materials Needed: Wooden picture ledges or shadow box frames, natural cane webbing (soaked in water for 30 minutes), heavy-duty staple gun, wood glue, and mounting hardware.
- Step-by-Step Instructions:
- Cut your cane webbing to match the back panel or side inserts of your wooden shadow box shelves.
- Soak the cane webbing in warm water for 30 minutes to make it pliable and prevent cracking.
- Position the damp cane webbing tightly across the back panel of the shelf frame and secure it using a heavy-duty staple gun along the hidden edges.
- Allow the cane to dry completely; it will shrink slightly as it dries, creating a drum-tight, flawless surface.
- Mount the finished cane-backed shelves securely to your bathroom wall using wall anchors and screws.
Tips and Variations
- Frame Finish: Paint the wooden frame in a soft sage green or warm cream to complement the natural golden tones of the rattan.
- Variation: Use cane webbing as a decorative front skirt hanging below a simple wooden shelf.