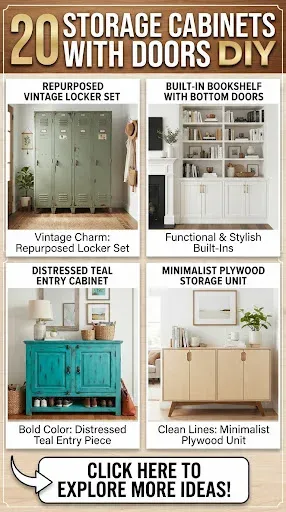
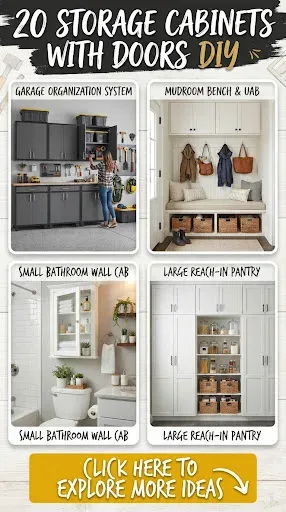
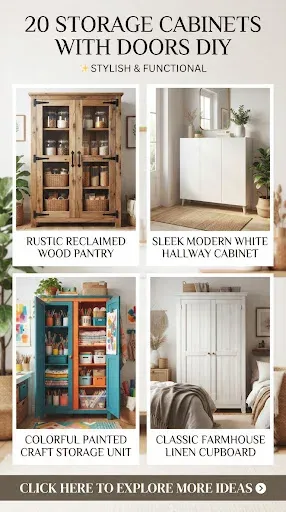
Creating functional storage that doubles as a stunning design statement changes the entire feel of a room. Traditional mass-market furniture often lacks character, leaving spaces feeling generic and uninspired. Crafting your own storage cabinets allows you to tailor dimensions, finishes, and hardware precisely to your aesthetic. Whether your home leans toward breezy bohemian textures, sleek modern minimalism, or warm rustic charm, building a custom cabinet with doors conceals clutter while elevating your interior design.
The Essential Toolkit and Materials
Successful woodworking and furniture flipping projects rely on having the correct supplies ready before starting. Gathering quality materials prevents mid-project interruptions and ensures structural integrity.
- Plywood and Lumber: High-grade 3/4-inch plywood for cabinet boxes, cabinet-grade MDF for smooth painted doors, and solid hardwood (like oak or pine) for trim and face frames.
- Assembly Hardware: Pocket hole screws, wood glue, 2-inch finishing nails, and corner clamps to keep joints square during assembly.
- Door Hardware: Concealed European cabinet hinges, magnetic touch latches or decorative pulls, and knobs that match your room’s metallic accents.
- Finishing Supplies: Wood filler, 120-grit and 220-grit sandpaper, primer, furniture paint or wood stain, and a protective polyurethane topcoat.
- Safety Gear: Safety glasses, dust masks, and ear protection when operating saws and Sanders.
Step-by-Step Construction Blueprint
Building a foundational cabinet follows a reliable sequence that applies to almost any style or dimension.
- Planning and Cutting: Measure your designated space carefully. Cut your side panels, top, bottom, and back panels from your sheet goods using a circular saw with a straight-edge guide or a table saw.
- Building the Box: Drill pocket holes along the edges of your side panels and bottom shelf. Secure the base, sides, and top together using wood glue and pocket hole screws, checking constantly with a square to ensure 90-degree angles.
- Adding the Back Panel: Cut a piece of 1/4-inch plywood to fit the back frame. Secure it with wood glue and finishing nails to square up the entire structure and prevent racking.
- Crafting the Doors: Build simple shaker-style frames using 1×3 boards or cut solid MDF panels to size. Attach hinges according to the manufacturer’s template, pre-drilling holes to prevent wood splitting.
- Sanding and Finishing: Fill all screw holes and gaps with wood filler. Sand the entire piece smooth, wipe away dust, apply a primer coat, and finish with two coats of your chosen paint or stain, sealing it with a protective topcoat.
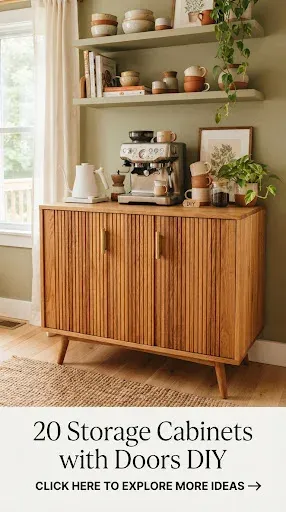
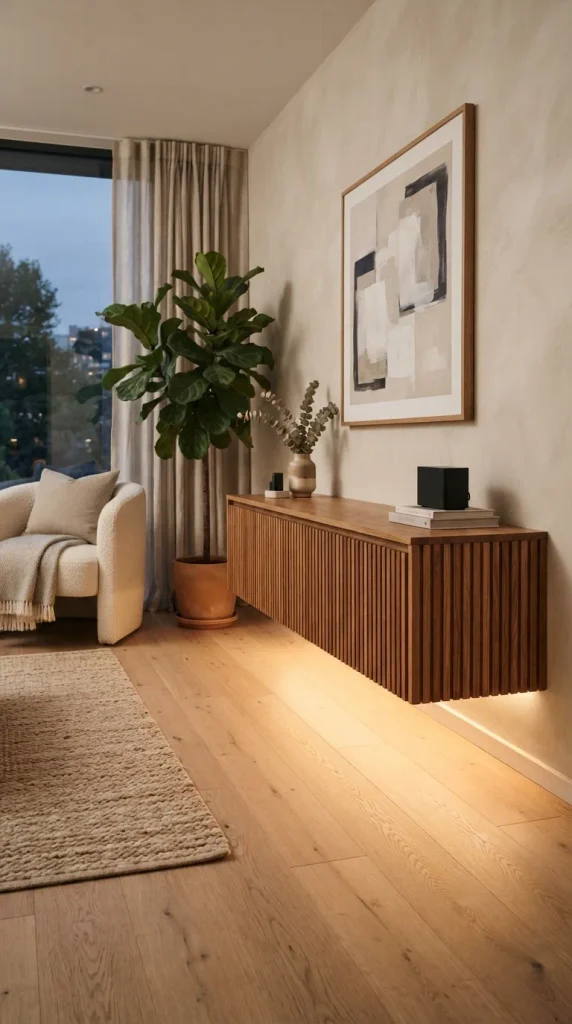
1. Fluted Tambour Door Credenza Sleek vertical wooden slats create mesmerizing texture across a low-profile media or entryway cabinet.
- DIY Tips: Use half-round wood moldings glued onto a flexible canvas backing to easily wrap around curved cabinet corners.
- Variations: Alternate between natural oak and matte black stained slats for a striking two-tone modern look.
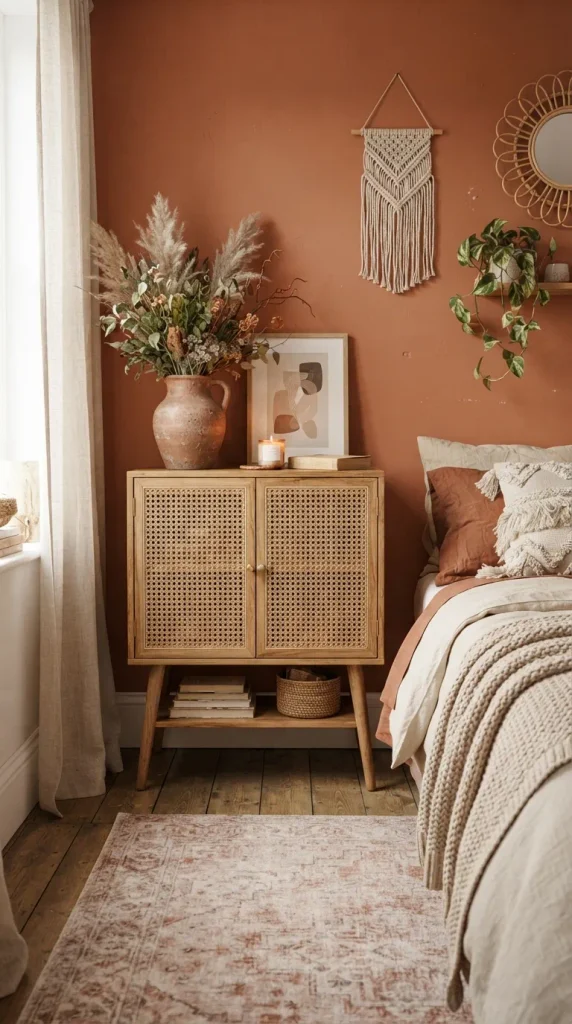
2. Rattan Webbing Boho Accent Cabinet Breezy natural textures bring warmth and organic charm to living rooms or bedrooms.
- DIY Tips: Soak natural cane webbing in warm water for 30 minutes before installation so it stretches tight and dries without sagging.
- Variations: Spray paint the wooden frame in sage green or soft terracotta to contrast the golden cane texture.
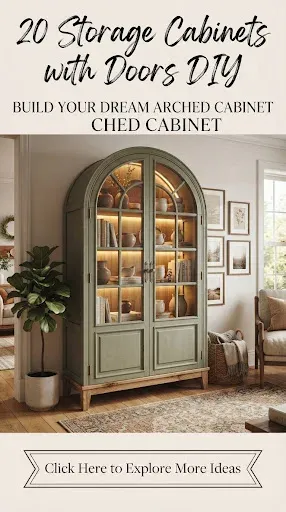
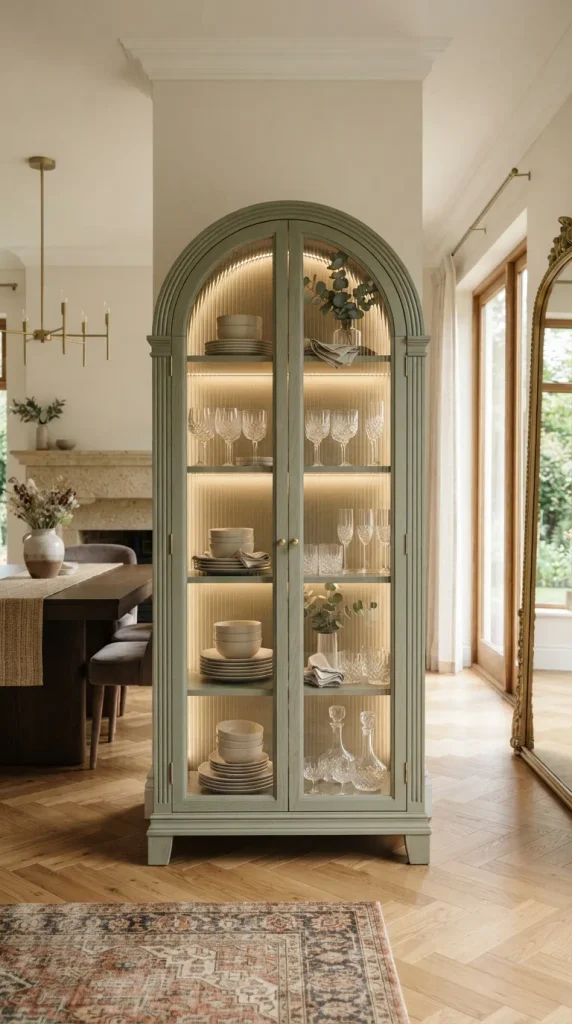
3. Arch-Top Fluted Glass Display Armoire Curved architectural silhouettes soften boxy room layouts while keeping cherished decor dust-free.
- DIY Tips: Use acrylic plexiglass sheets instead of real glass for safety, cutting them easily with a scoring tool.
- Variations: Apply frosted window film on the lower half of the doors for semi-concealed storage.
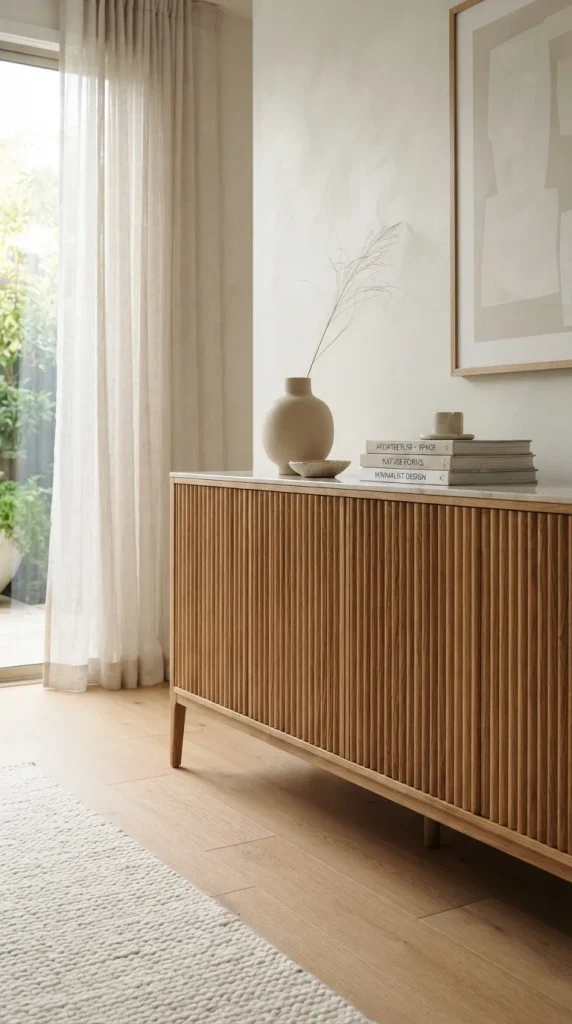
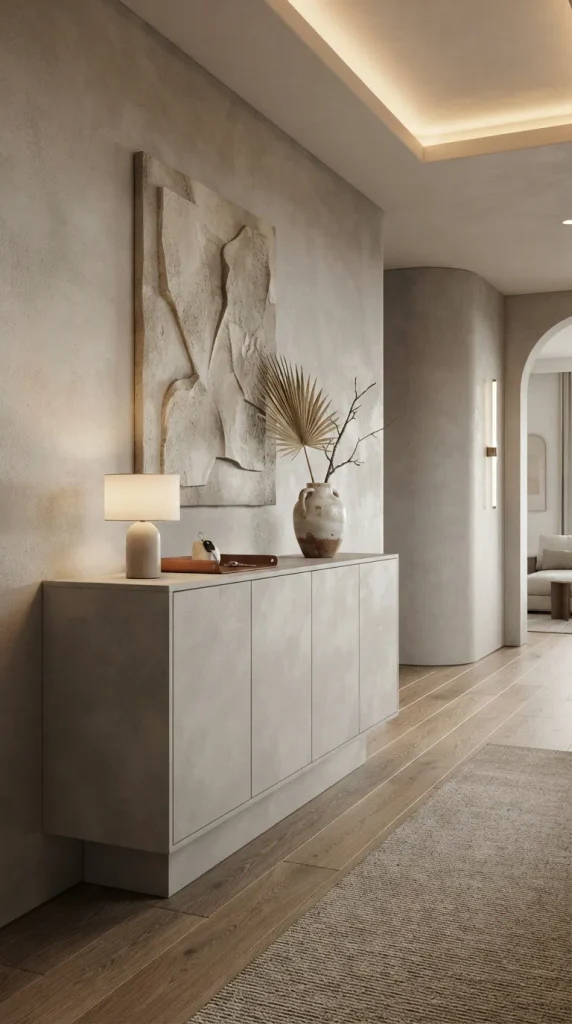
4. Modern Minimalist Push-to-Open Sideboard Clean, handleless surfaces deliver an ultra-clean architectural aesthetic in contemporary spaces.
- DIY Tips: Install heavy-duty push-to-open magnetic latches inside the frame to ensure doors pop open smoothly with a gentle press.
- Variations: Finish the exterior in an ultra-matte concrete effect plaster for an industrial minimalist vibe.
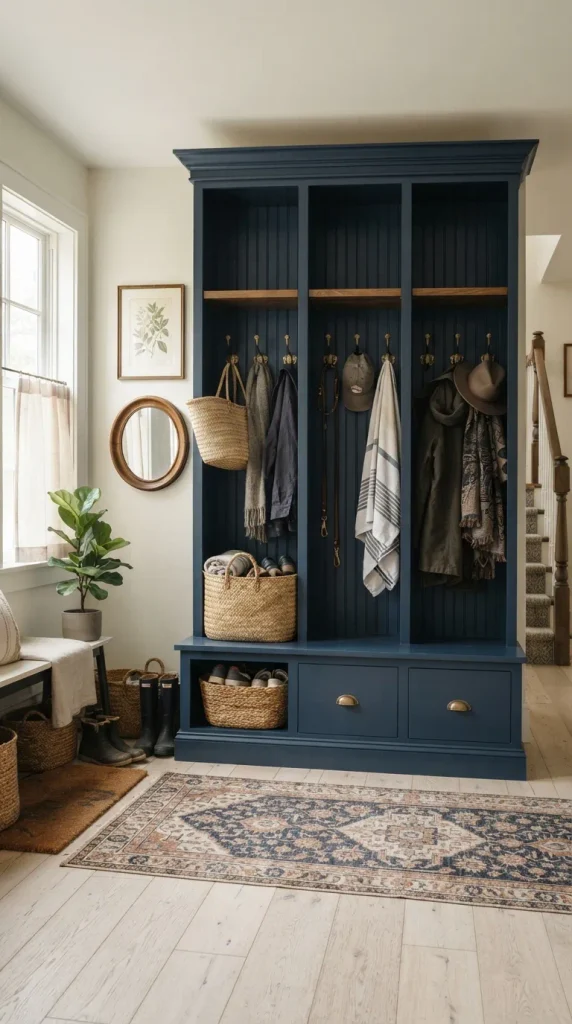
5. Vintage Beadboard Mudroom Lockers Classic vertical paneling adds timeless cottage charm while organizing entryways efficiently.
- DIY Tips: Use pre-beadboard plywood sheets to save hours of individual board installation time.
- Variations: Install heavy cast-iron double hooks inside alongside traditional wooden shelving.
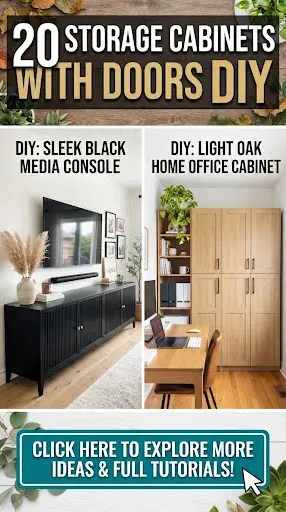
6. Warm Oak Slatted Media Console Horizontal wooden slats allow remote control signals to pass through while concealing electronics completely.
- DIY Tips: Use a spacer block of wood between each slat during gluing to maintain uniform gaps.
- Variations: Mount the entire cabinet floating off the floor using heavy-duty French cleats.
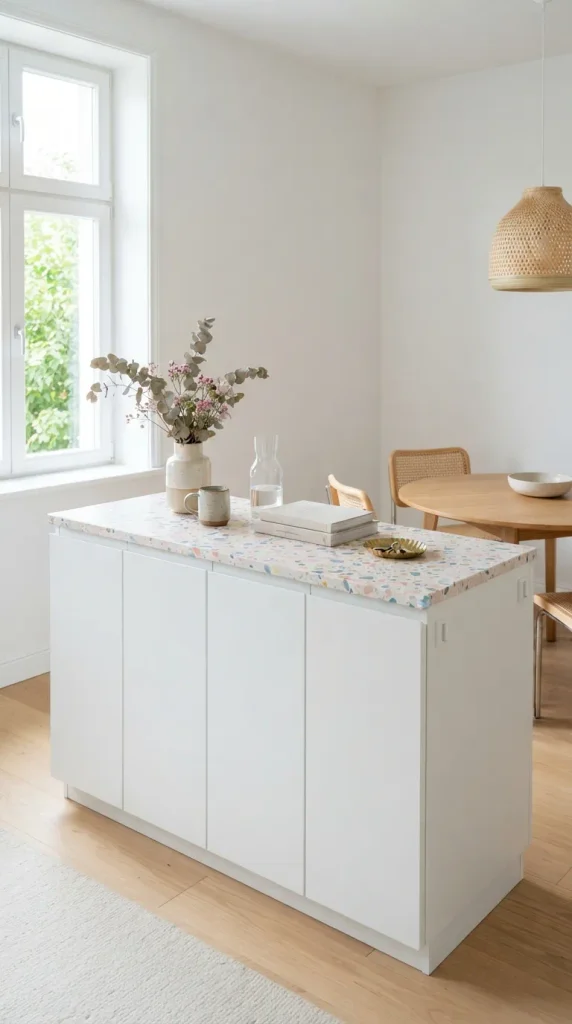
7. Terrazzo-Top Terrazzo Inlaid Cabinet Colorful stone chips embedded in concrete or resin tops elevate a simple storage unit into functional art.
- DIY Tips: Pour your own custom concrete countertop using a melamine mold mixed with marble chips.
- Variations: Match the terrazzo color palette with the interior cabinet paint color for a cohesive look.
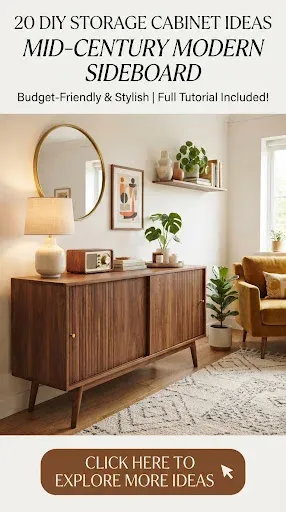
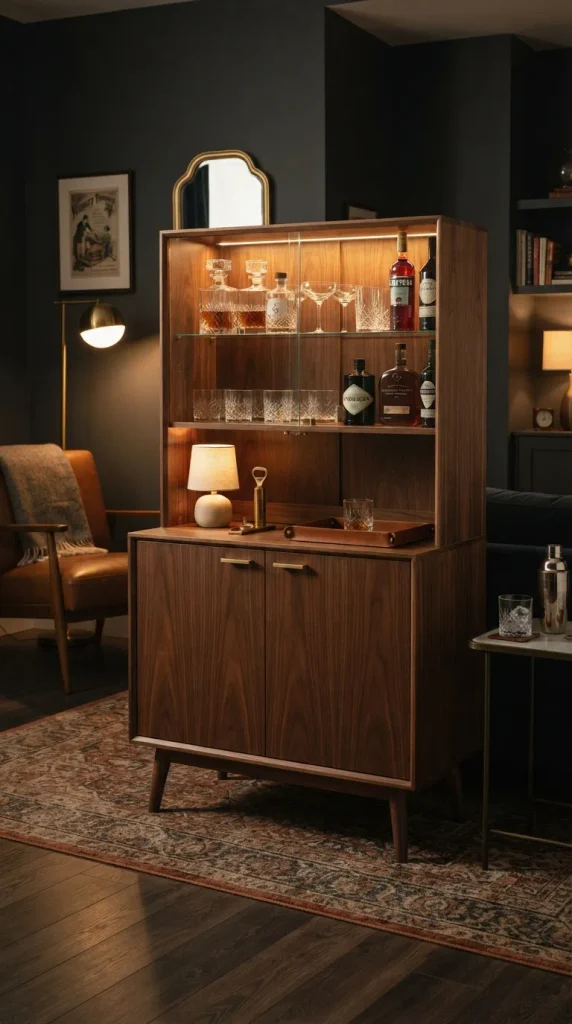
8. Mid-Century Modern Walnut Bar Cabinet Sleek tapered legs and rich wood grain evoke sophisticated retro lounge aesthetics.
- DIY Tips: Install battery-operated motion-sensor LED strip lights inside the cabinet to illuminate glassware automatically when opened.
- Variations: Line the interior back wall with gold leaf or mirrored glass for a glamorous cocktail station.
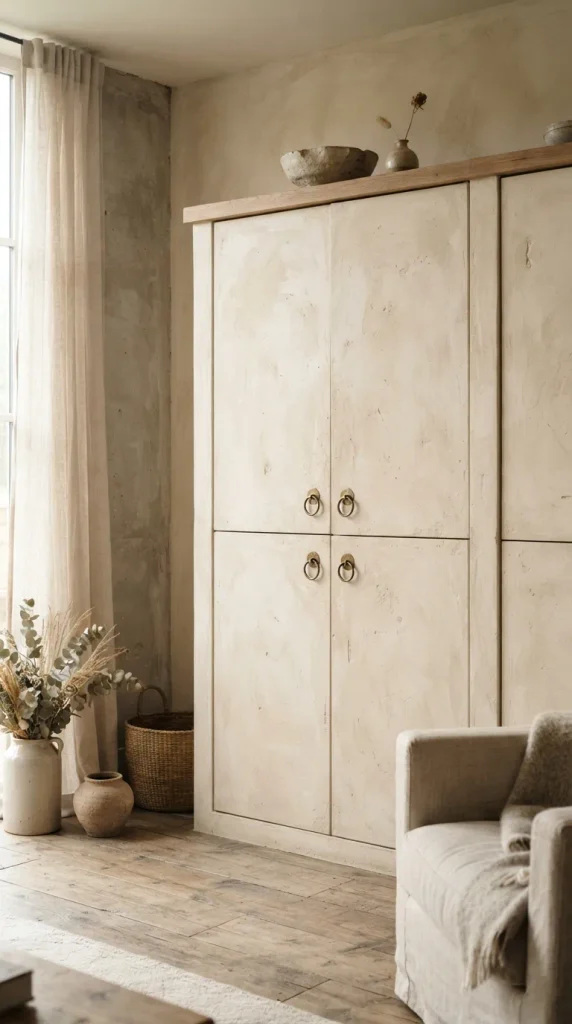
9. Limewash Plaster Textured Storage Unit Earthy mineral textures provide an organic, hand-crafted Mediterranean feel.
- DIY Tips: Apply limewash paint in crisscross brush strokes using a large block brush for authentic cloud-like movement.
- Variations: Pair the chalky texture with aged brass ring pulls for a weathered vintage finish.
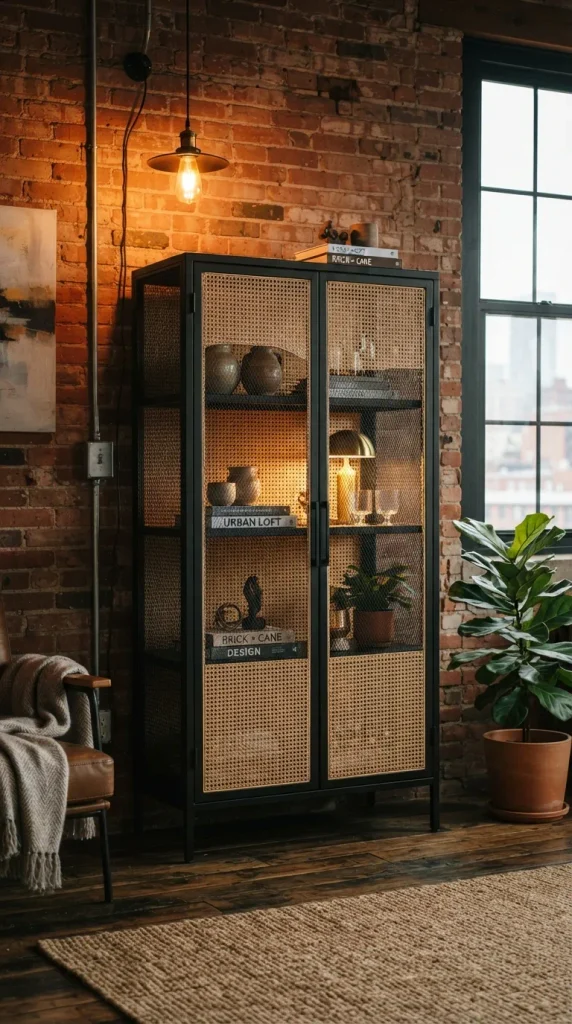
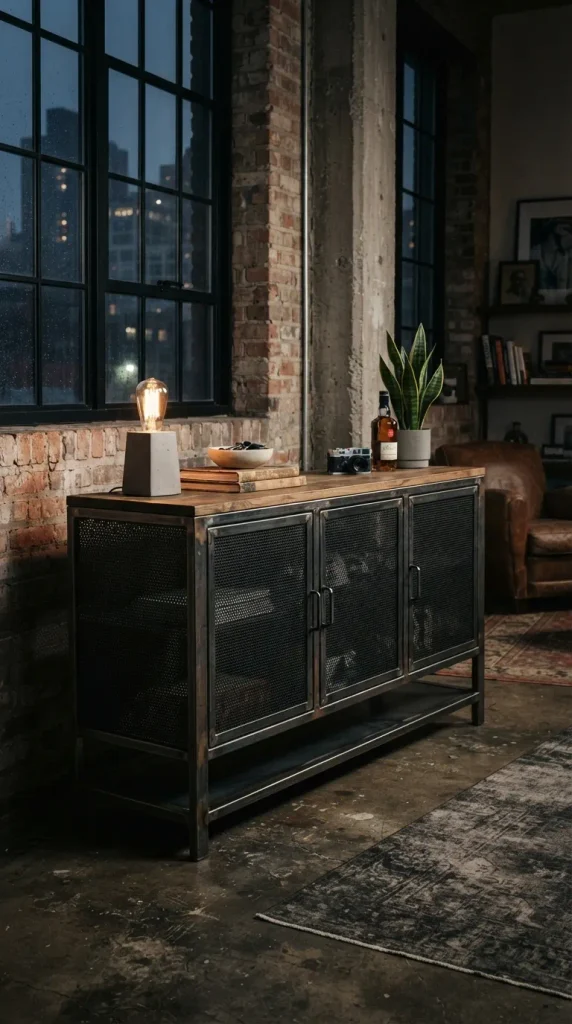
10. Cane and Black Iron Industrial Cabinet Combining black metal mesh or expanded metal with warm wood yields a rugged urban look.
- DIY Tips: Spray paint galvanized mesh with ultra-matte black appliance paint for a non-reflective professional coat.
- Variations: Use reclaimed scaffolding boards for the top and bottom panels to add authentic historical wear.
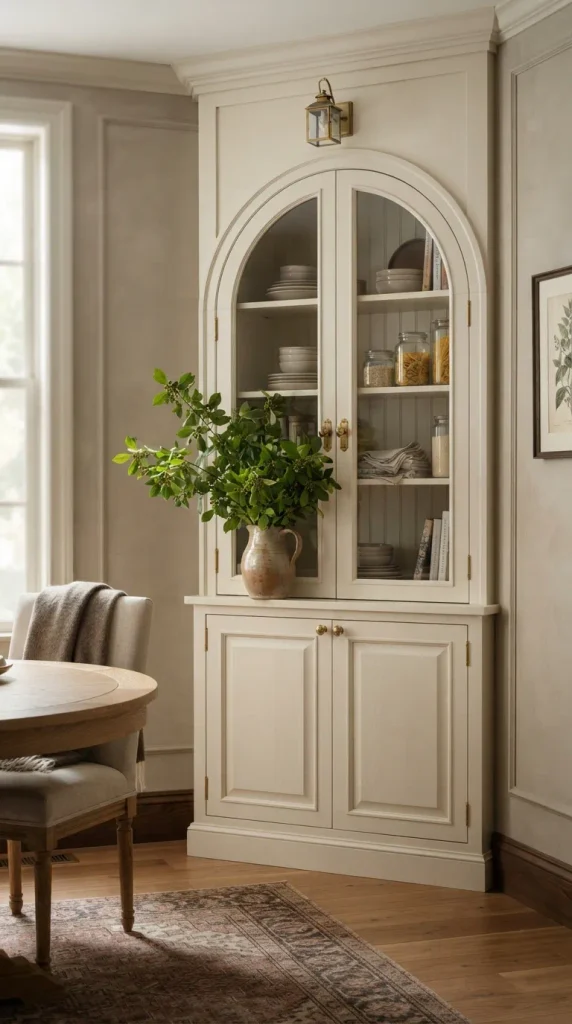
11. Arched Paneled Accent Pantry Dramatic arched door frames transform a basic kitchen or dining room utility cabinet into a statement piece.
- DIY Tips: Cut MDF arch templates using a DIY router jig attached to a pivot screw.
- Variations: Paint the interior a contrasting jewel tone like emerald green or deep navy behind neutral exterior doors.
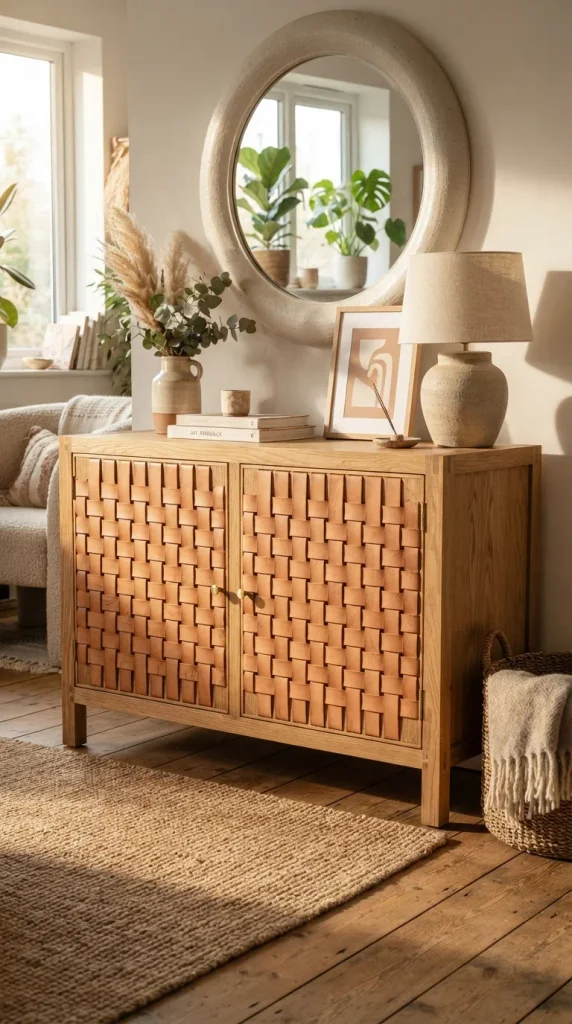
12. Woven Leather Strap Door Credenza Supple leather straps interwoven across wooden door frames add bespoke tactile luxury.
- DIY Tips: Use heavy-duty veg-tanned leather strips and secure them with decorative brass upholstery tacks.
- Variations: Alternate between tan and dark chocolate leather straps for a geometric plaid pattern.
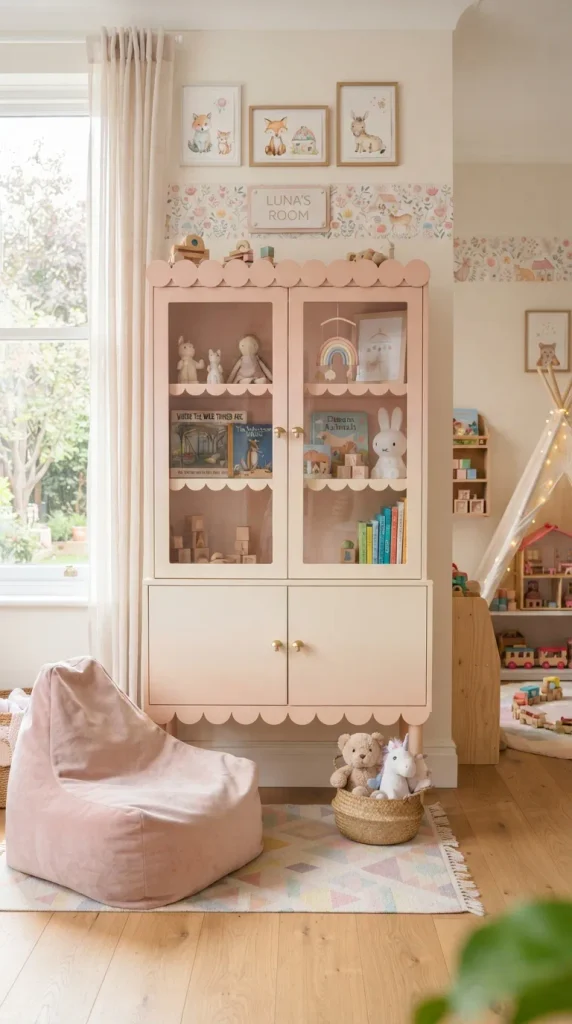
13. Scalloped Edge Pastels Playroom Cabinet Playful decorative edges bring whimsical charm to children’s rooms or creative studios.
- DIY Tips: Trace a circular glass or cup onto your wood to draw uniform repeating semi-circle scallops before cutting with a jigsaw.
- Variations: Paint each scallop a slightly different gradient shade of pastel pink, peach, and cream.
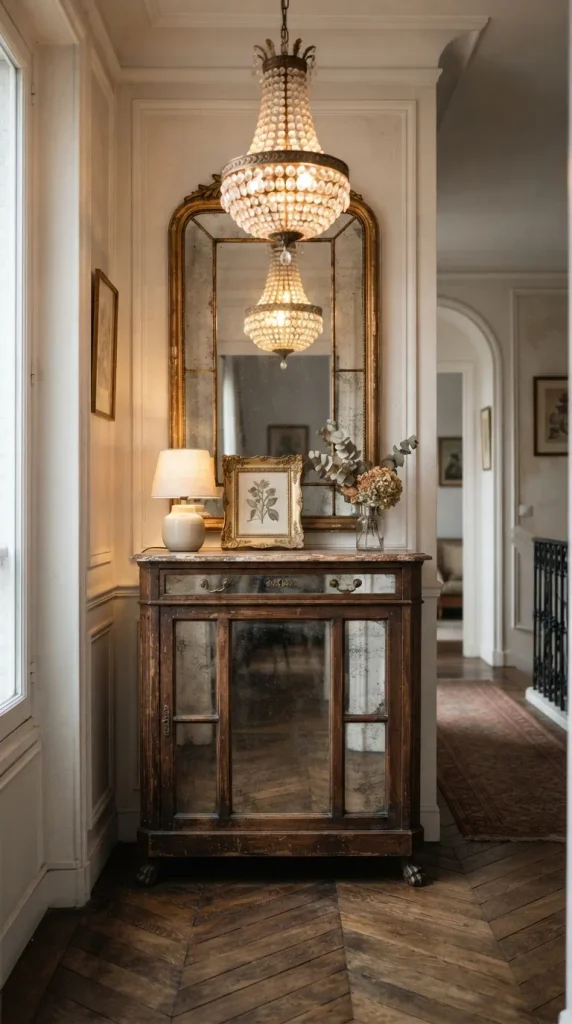
14. Mirror-Inlaid Entryway Hallway Cabinet Reflective mirrored door panels bounce natural light around dark corridors, making small spaces feel expansive.
- DIY Tips: Secure mirror panels into recessed cabinet door frames using heavy-duty mirror mastic adhesive and clear silicone.
- Variations: Use antique distressed mirror glass for a softer, vintage romantic atmosphere.
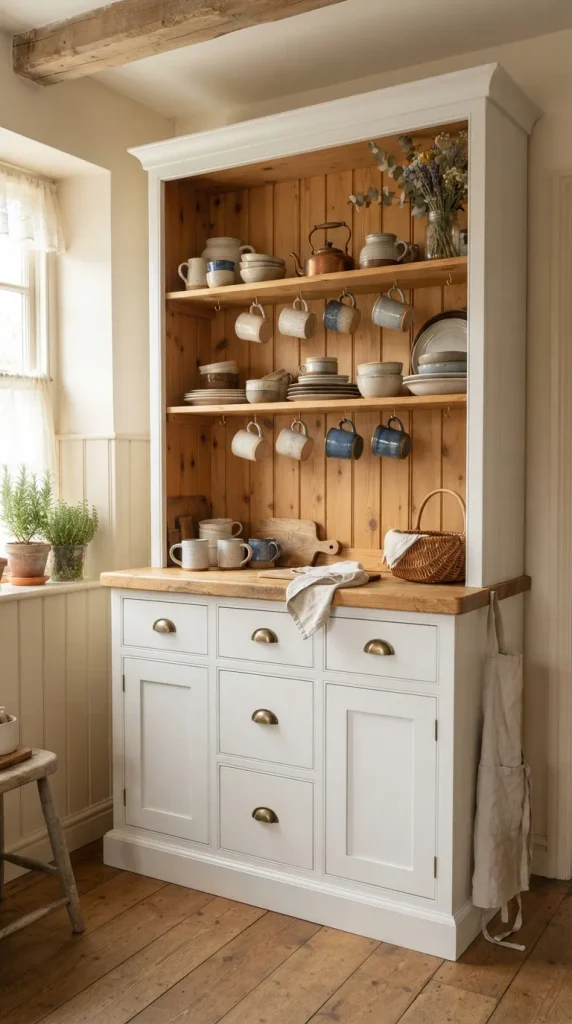
15. Shaker Style Two-Tone Kitchen Hutch Traditional frame-and-panel construction gets a modern refresh through contrasting color blocking.
- DIY Tips: Spray your paint using an HVLP paint sprayer rather than rolling to achieve a completely brush-stroke-free factory finish.
- Variations: Keep the interior natural pine while painting the exterior a crisp, clean chalk white.
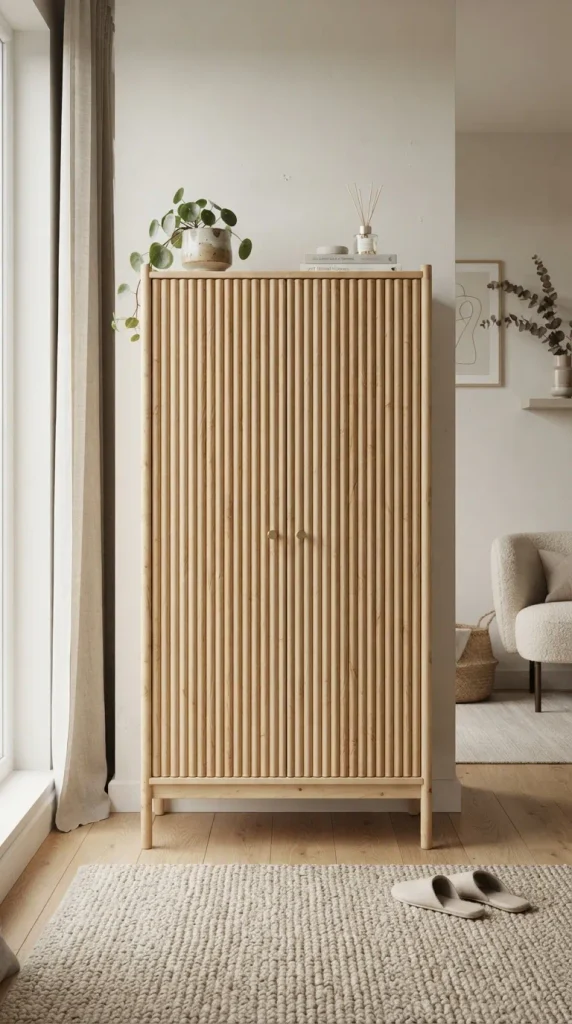
16. Vertical Wooden Dowel Screen Cabinet Dozens of rounded wooden dowels create a gorgeous ribbed facade with high visual depth.
- DIY Tips: Drill precise guide holes into the top and bottom door rails using a drill press to keep every dowel perfectly plumb.
- Variations: Leave the dowels unfinished raw maple and paint the main cabinet box a bold matte charcoal.
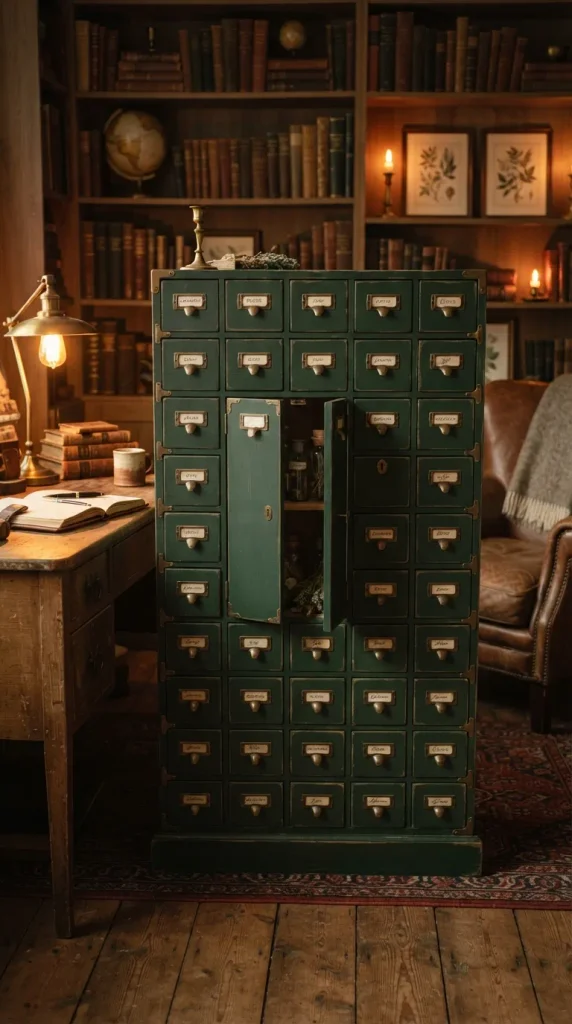
17. Vintage Apothecary Multi-Drawer Illusion Door A single cabinet door styled to look like an antique apothecary chest with dozens of tiny drawers maximizes charm.
- DIY Tips: Use thin 1/4-inch trim molding applied directly to a flat cabinet door face to create false drawer divider grids.
- Variations: Attach individual antique card catalog label pulls to each faux drawer section.
18. Perforated Metal Mesh Industrial Credenza Industrial wire mesh doors provide ventilation for electronics while maintaining a chic loft style.
- DIY Tips: Cut expanded metal sheets safely using heavy-duty aviation snips while wearing thick protective work gloves.
- Variations: Frame the mesh inside raw steel angle iron welded corners for an authentic workshop aesthetic.
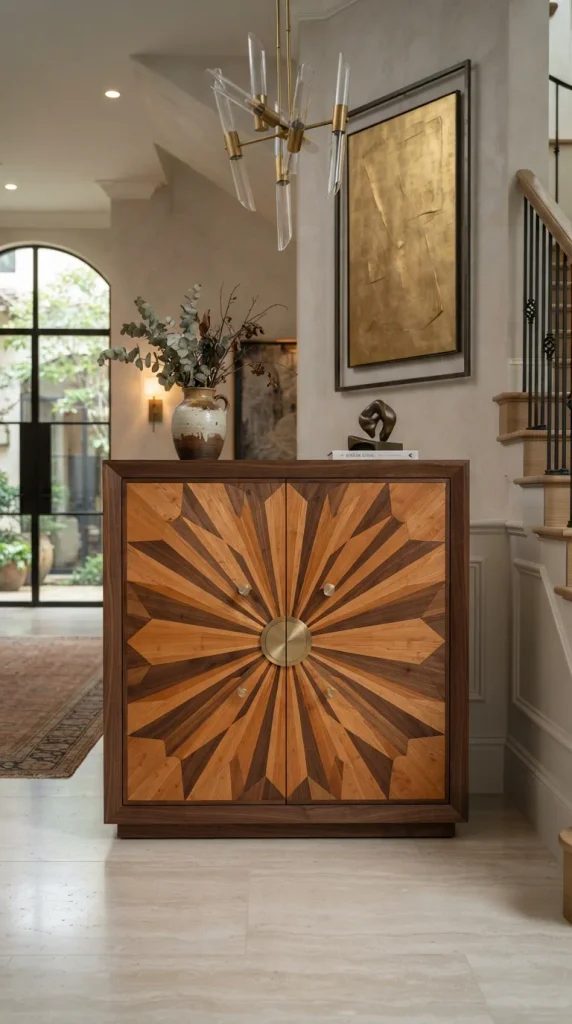
19. Sunburst Parquetry Wooden Door Cabinet Intricate geometric wood inlay patterns showcase advanced woodworking skills and stunning visual rhythm.
- DIY Tips: Use a Japanese pull saw and a shooting board to cut precise 45-degree and wedge angles for your veneer pieces.
- Variations: Mix contrasting wood species like cherry, walnut, and maple for a vibrant sunburst graphic effect.
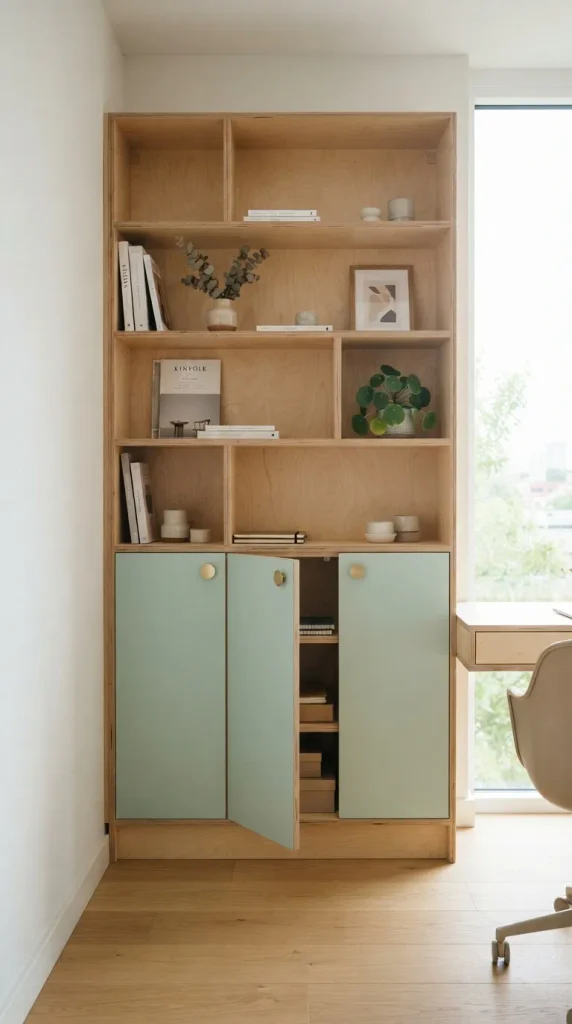
20. Minimalist Ply-Edge Exposed Bookshelf Cabinet Celebrating raw plywood laminate layers gives a contemporary Scandinavian architectural feel.
- DIY Tips: Sand exposed plywood edges meticulously up to 320-grit and seal with clear matte water-based polyurethane to prevent yellowing.
- Variations: Add sleek push-to-open doors finished in soft pastel linoleum laminate for a durable, tactile surface.
More ideas to come in future addition.