10. The Geometric Statement Necklace
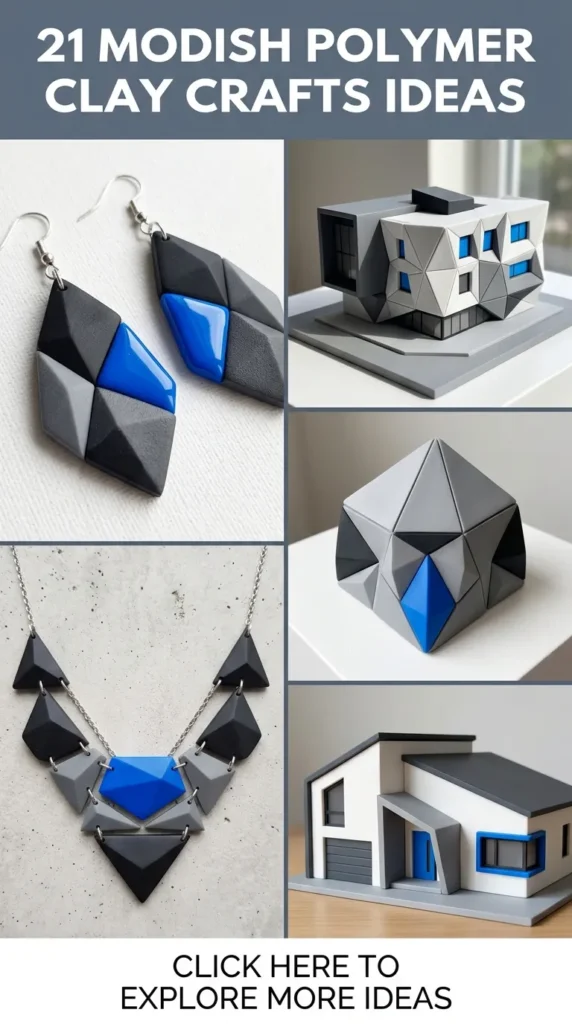
The final project is a masterclass in precision. Geometric necklaces allow you to play with layering and stacking.
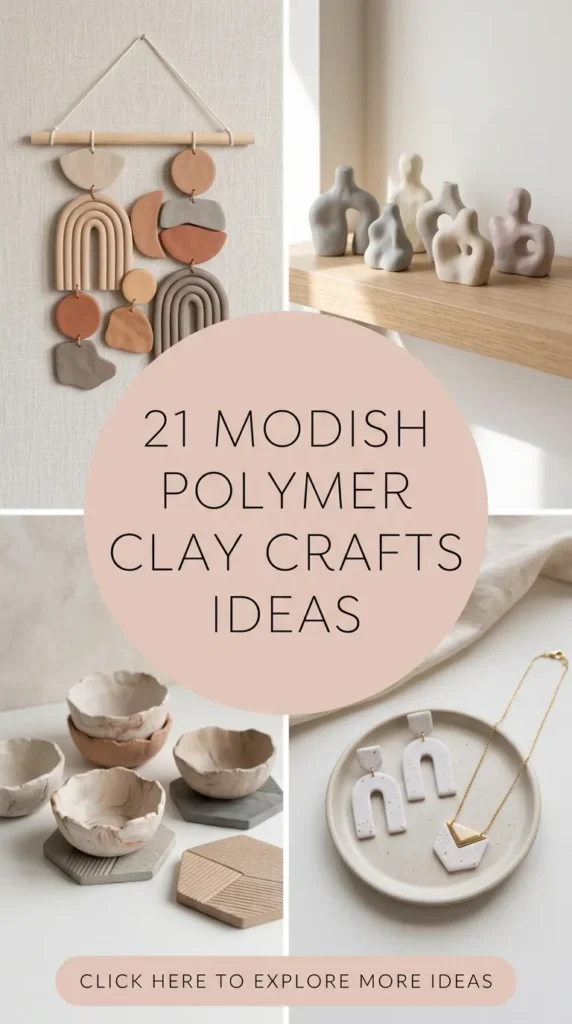
The Aesthetic: Sharp triangles, rectangular bars, and circles stacked in a vertical or horizontal arrangement. Think of it as “wearable architecture.”
The Process: Cut your shapes with absolute precision using a steel ruler and a sharp blade. The “modish” factor here comes from the color palette—stick to three colors: a primary (like black), a secondary (like gold or white), and a pop of accent color (like terracotta or teal). Drill holes for your jump rings before baking. This project is all about the finish—a clear, glossy varnish will make the necklace look like it was professionally produced by a contemporary jewelry designer.
Mastering the Medium: Tips for Success
Creating these projects is one thing; mastering the medium is another. Polymer clay is forgiving, but there are a few “golden rules” that separate the beginners from the pros.
1. Conditioning is Key: Never skip the conditioning phase. Your clay might feel hard or crumbly straight from the package, but you must knead it, roll it, and work it with your hands until it is pliable. This warms the clay and aligns the polymers, ensuring it won’t crack during baking.
2. The Baking Ritual: Always follow the manufacturer’s instructions on the package to the letter. A temperature that is too high will burn the clay (and potentially release fumes), while a temperature that is too low will leave the piece brittle. Invest in an inexpensive oven thermometer to ensure your oven is actually at the temperature the dial says it is.
3. Sanding for Professionalism: If you want that high-end, store-bought finish, you must sand your pieces after baking. Use wet/dry sandpaper starting with a medium grit and moving to a fine grit. This removes fingerprints and surface imperfections, giving your clay the smooth, matte texture of stone.
4. The Finishing Touch: To protect your work, use a water-based polyurethane varnish. It adds a layer of durability and keeps your colors vibrant over time. A matte varnish is generally more “modern,” while a glossy varnish can make colors look richer and deeper.
5. Stay Clean: Polymer clay is a magnet for dust and lint. Keep your workspace immaculately clean. Wipe your table down before you start, and wash your hands between colors to prevent transferring dust or pigment from one shade to the next. If you do get lint on your project, a light swipe of rubbing alcohol on a cotton swab can often remove the surface particles before baking.
Conclusion: Crafting Your World
The beauty of these polymer clay projects is that they are not just “crafts.” They are extensions of your style. In a world of mass-produced decor, having a hand-crafted, uniquely designed piece of art in your home or on your person is a powerful act of self-expression.
Whether you are looking to create a cohesive theme for your living space or simply want to lose yourself in a relaxing afternoon of creating, polymer clay offers a gateway to endless possibilities. You don’t need a massive workshop or expensive equipment; you need a table, an oven, and a bit of imagination. So, pick up a few blocks of clay, choose your favorite palette, and start sculpting. Your home—and your wardrobe—will thank you for it.
More ideas to come in future addition
Tips & Best Practices for Polishing Your Polymer Clay Crafts
- Clay Quality Matters – Use good-brand polymer clay (Premo, Sculpey, Kato). Cheap clays may crack or discolor.
- Condition Thoroughly – Knead and warm the clay to reduce brittleness and prevent cracking.
- Use Thin Layers – For overlay or decals, keep clay thin (1–2 mm) so it bakes evenly without warping.
- Bake on Ceramic Tile – That helps heat distribute evenly and prevents burning bottom surfaces.
- Use Fine Tools & Textures – Invest in silicone texture sheets, fine needles, dental tools for details.
- Sand & Buff After Baking – Wet-sanding (400 → 800 → 1200 grit) yields smoother edges, then buff to shine.
- Seal Carefully – Use a non-yellowing polymer clay varnish (matte or satin). Avoid glossy finishes unless desired.
- Combine Materials – Clay pairs beautifully with resin, metal leaf, metal findings, glass or crystals.
- Minimalist Energy – In styling your crafts for photos, use clean backgrounds, soft natural light, negative space.
- Plan Color Harmonies – Use color inspiration palettes (e.g. Pantone mood boards) so that each piece feels cohesive when shown as a set.