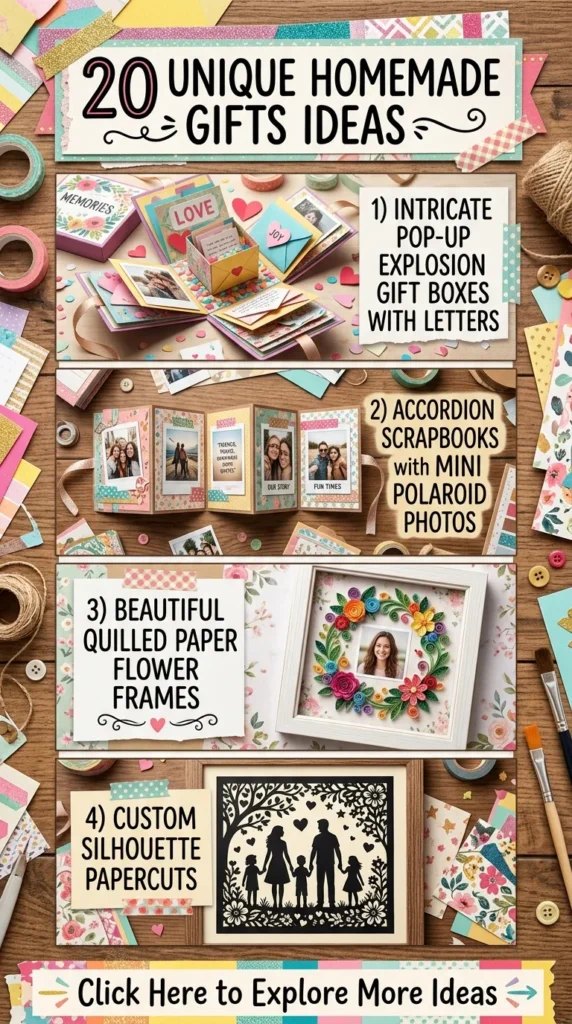
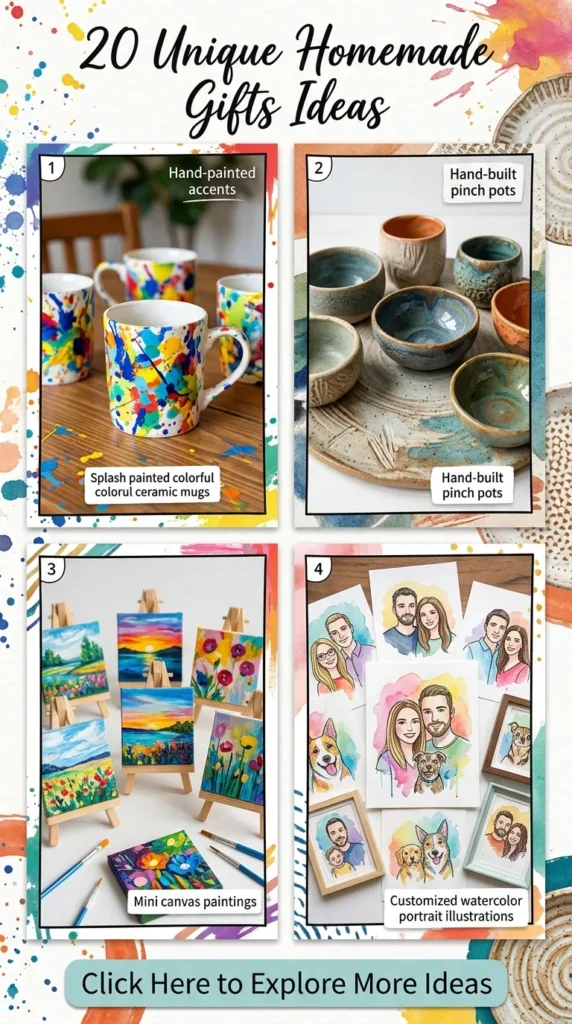
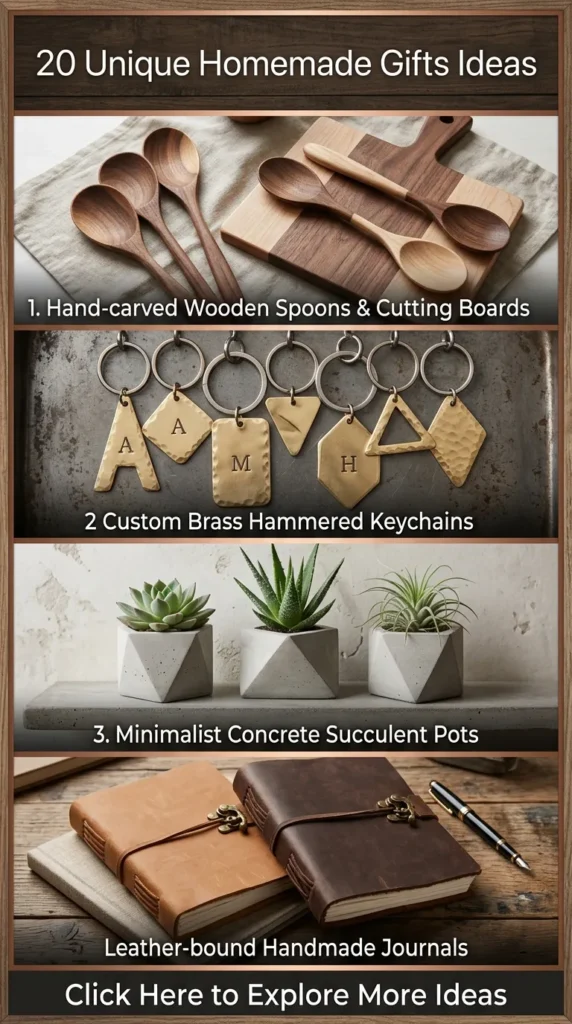
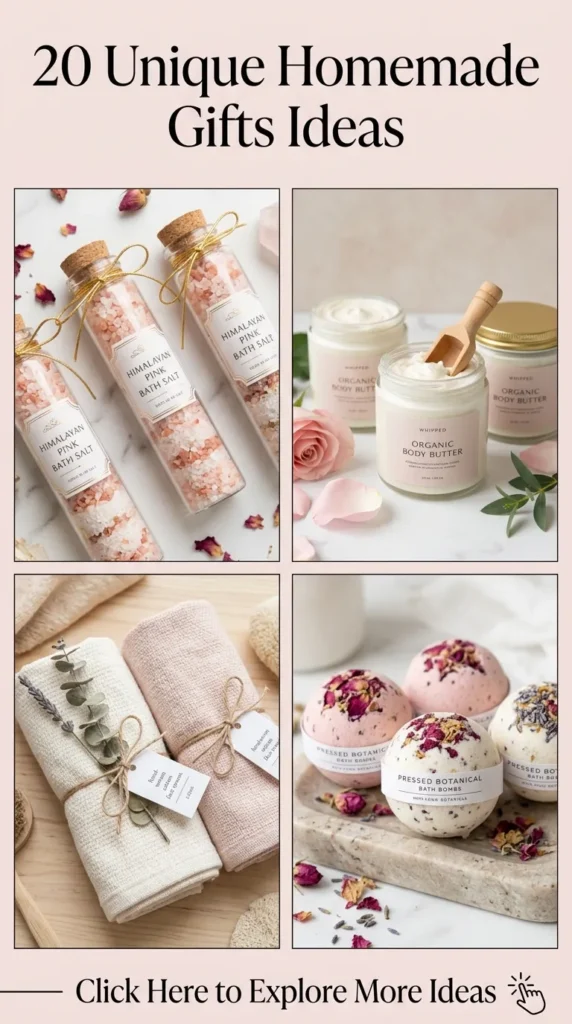
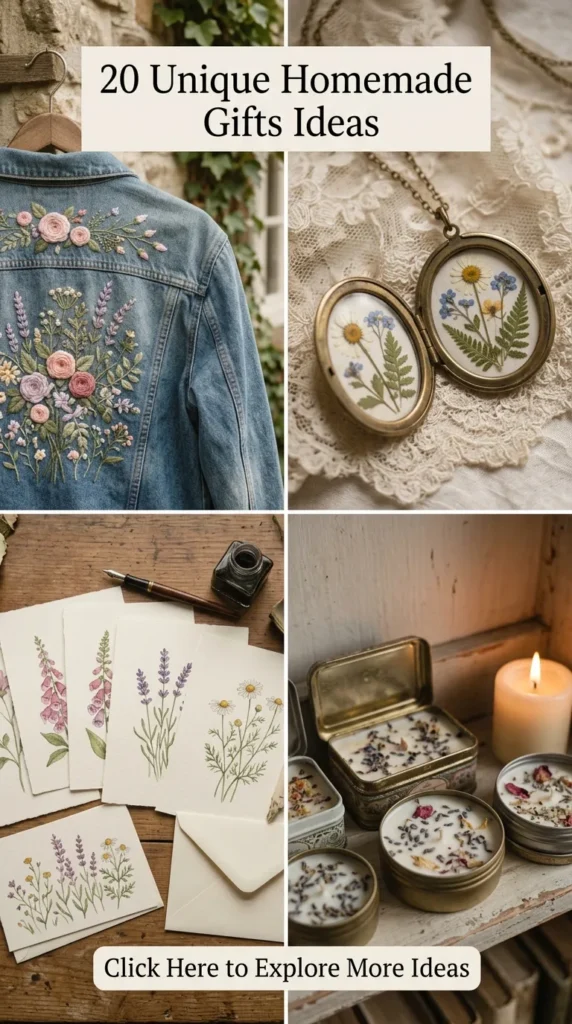
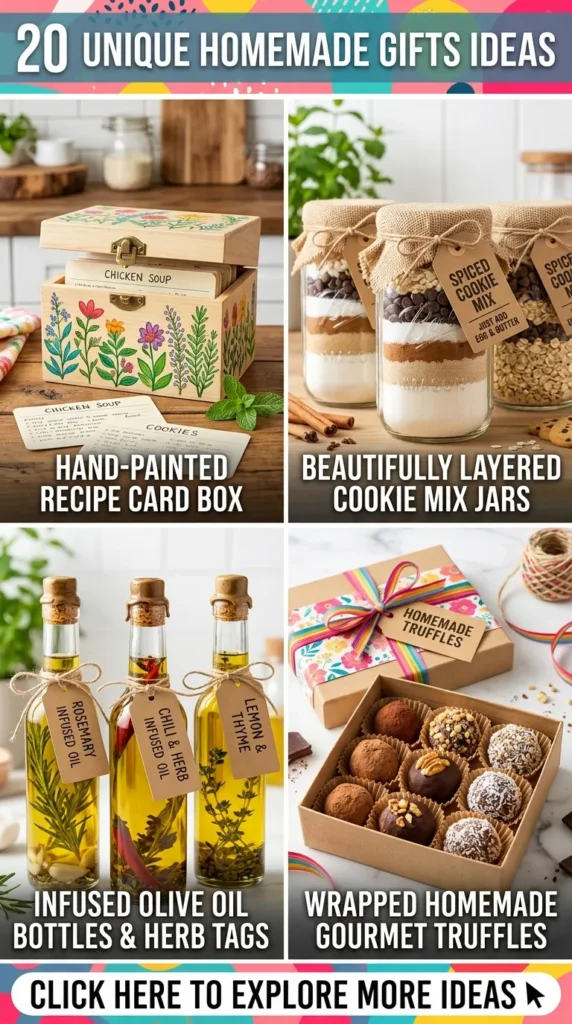
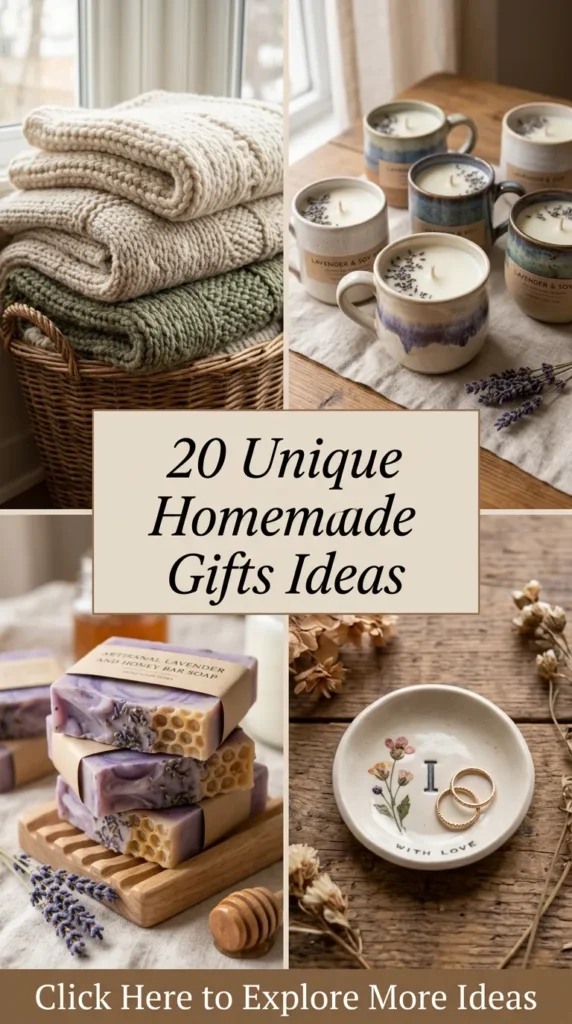
Handmade gifting has evolved beyond basic paper crafts and rustic novelties. Today’s DIY gifts embrace clean lines, neutral aesthetics, tactile organic textures, and functional elegance. A handmade gift carries emotional resonance, intentionality, and bespoke charm that mass-produced retail items simply cannot replicate.
Below is an extensive, beautifully curated collection of 20 modern, sophisticated homemade gift ideas. Each project includes an introduction, design philosophy, a detailed step-by-step creation guide, a materials breakdown, styling variations, and professional crafting tips to help you create heirloom-quality presents.
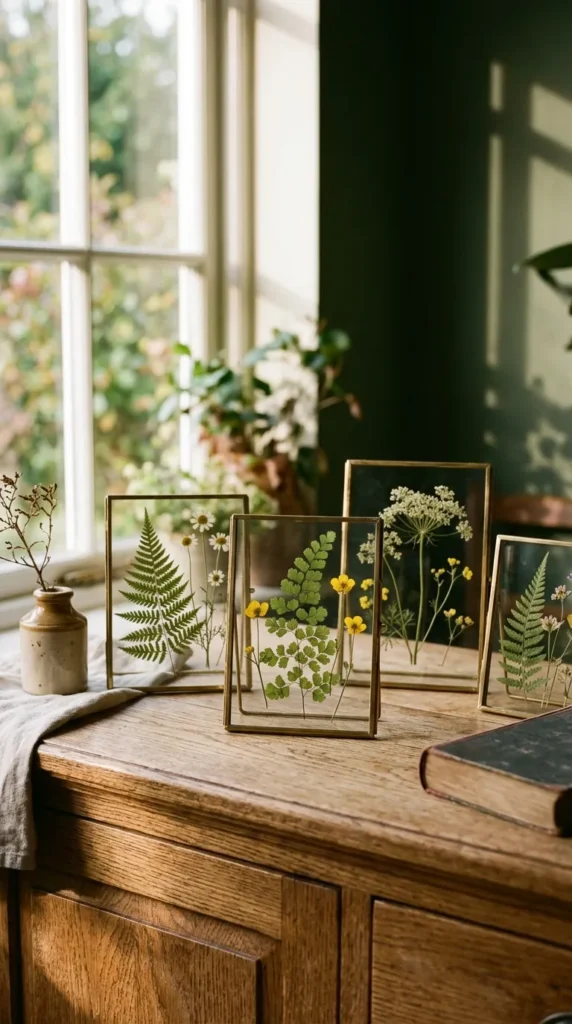
1. Minimalist Botanical Pressed-Glass Frames
Pressed botanical frames bring organic nature indoors with clean, Scandinavian-inspired elegance. By suspending delicate dried foliage, fern leaves, and heirloom flower petals between two panes of ultra-clear glass, you create a timeless piece of floating wall art that suits any contemporary interior.
- What This Idea Means: It represents the preservation of fleeting natural beauty within a sleek, modern architectural silhouette. It turns everyday garden flora into gallery-grade minimalist artwork.
- Materials Needed:
- Double-pane glass floating frame with brass, matte black, or raw wood trim
- Assorted fresh flowers, fern fronds, eucalyptus leaves, or delicate wildflowers
- Traditional wooden flower press or two heavy hardcover books lined with acid-free blotting paper
- Fine-point precision tweezers
- Quick-drying clear glass adhesive or micro-glue dots
- Microfiber polishing cloth and glass cleaner
- How to Make It:
- Pressing: Harvest flat-profile flowers or leaves on a dry afternoon. Arrange them face down between sheets of parchment paper inside your flower press or between heavy books. Allow them to dry undisturbed for 2 to 3 weeks until completely moisture-free and paper-thin.
- Arranging: Disassemble the floating frame. Clean both glass panes thoroughly using glass cleaner and a microfiber cloth to remove all dust, lint, and fingerprints.
- Placement: Using fine tweezers, carefully arrange the pressed botanicals onto the back glass pane. Create a balanced, asymmetrical composition with plenty of negative space around the edges.
- Securing: Apply a microscopic dot of clear adhesive beneath the center of the main stem or petal to prevent shifting.
- Assembly: Lower the top pane of glass gently over the botanicals. Lock the frame closure tightly and polish the exterior surfaces.
- Tips & Variations:
- Tip: Choose low-moisture flowers like baby’s breath, pansies, ferns, and larkspur for vibrant color retention without browning.
- Variation: Add handwritten calligraphy on handmade deckle-edge paper beneath the botanicals featuring a meaningful date, coordinate, or quote.
2. Hand-Poured Soy Candles with Botanical Concrete Vessels
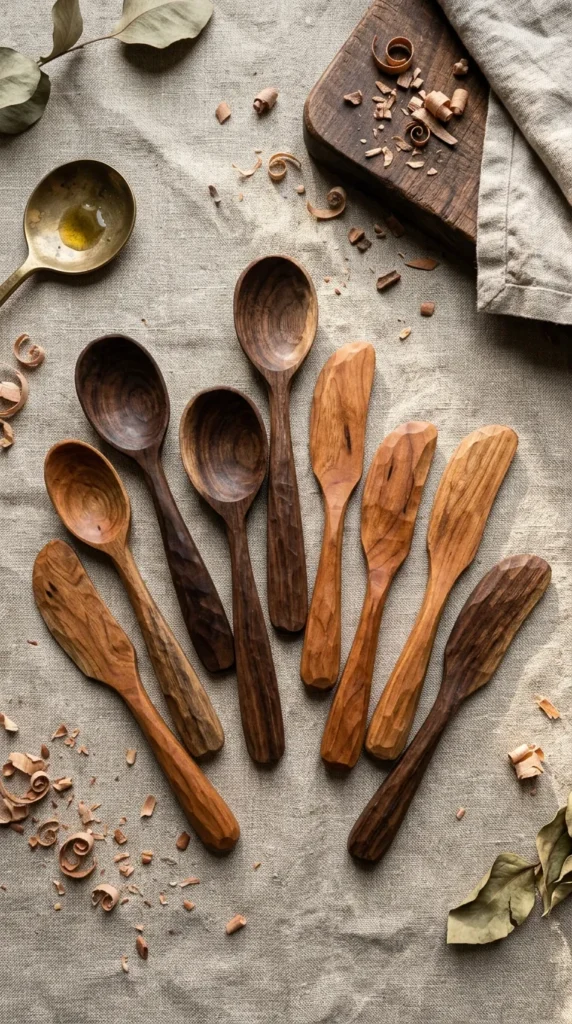
Combining raw industrial concrete with delicate, aromatic soy wax creates a gorgeous textural contrast. These bespoke candles look like designer home accessories found in high-end lifestyle boutiques.
- What This Idea Means: An exploration of modern contrast—marrying raw architectural textures with soft candlelight and subtle luxury fragrances.
- Materials Needed:
- Fine casting cement or quick-setting concrete mix
- Silicone geometric or cylindrical vessel molds
- 100% natural soy wax flakes (Golden Wax 464)
- Natural lead-free braided cotton wicks or crackling wooden wicks with metal sustainers
- High-grade phthalate-free fragrance oils (such as Sandalwood, Fig, Amber, or Bergamot)
- Wick centering tool or wooden skewers, glue dots, digital kitchen thermometer, and wax melting pitcher
- How to Make It:
- Casting the Vessel: Mix your concrete according to package instructions until it reaches a thick pancake batter consistency. Pour into silicone molds, tapping the mold repeatedly on a table to release trapped air bubbles. Allow to cure for 24–48 hours before demolding.
- Sealing: Once completely dry, coat the interior of the concrete vessel with a non-toxic, water-based concrete and stone sealant to prevent melted wax from seeping through the porous walls.
- Wicking: Secure the wick base to the bottom interior center of the vessel using a glue dot. Secure the top with a wick centering collar.
- Melting: Heat soy wax in a double boiler until it reaches 185°F (85°C). Stir in 8–10% fragrance oil slowly for two full minutes to bond the scent.
- Pouring: Allow wax to cool to 135°F (57°C) before gently pouring it into the prepared concrete vessels. Leave to cure undisturbed at room temperature for at least 48 hours.
- Tips & Variations:
- Tip: Sand the top rim of your concrete vessel with 220-grit wet sandpaper for a velvety-smooth finish.
- Variation: Marble your concrete by swirling charcoal pigment into the wet mix just before pouring.
3. Hand-Carved Wooden Tasting Spoons & Butter Knives
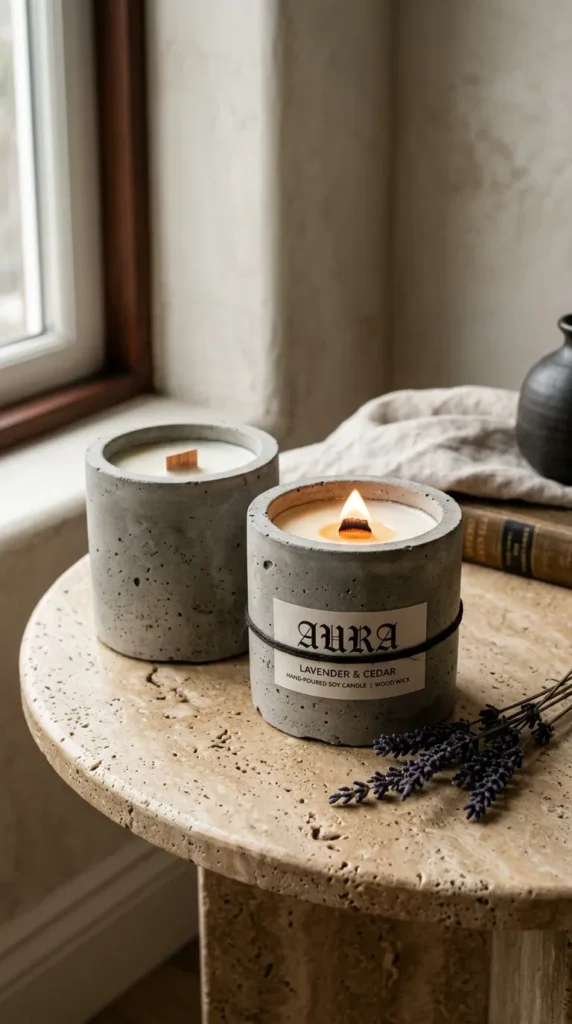
Carving custom culinary utensils from sustainably sourced hardwood branches or blanks yields an intimate, functional heirloom that grows more beautiful with use.
- What This Idea Means: A celebration of traditional woodcraft, slow living, and organic dining rituals.
- Materials Needed:
- Hardwood carving blanks (Walnut, Cherry, Maple, or Olive wood)
- Sloyd carving knife and spoon hook knife (bent gouge)
- Heavy-duty cut-resistant safety gloves
- Sandpaper assortment (80, 120, 220, 400, and 600 grits)
- Food-safe wood butter or organic mineral oil and beeswax paste
- How to Make It:
- Roughing Out: Trace the profile of your tasting spoon or spreader onto your wood blank. Use your straight carving knife to pare away waste wood, carving away from your body at all times.
- Hollowing the Bowl: Use the hook knife to hollow out the shallow depression of the spoon bowl with light, sweeping, circular cuts.
- Shaping: Refine the handle ergonomics and outer contours to fit naturally in the hand, leaving subtle facet planes for an artisanal look, or carving it completely rounded.
- Sanding: Progress through sandpaper grits from 80 up to 600 until the grain is silky smooth.
- Finishing: Apply a generous coat of food-safe mineral oil and beeswax balm. Let it absorb for two hours, then buff off excess with a lint-free cotton cloth.
- Tips & Variations:
- Tip: “Pop the grain” by wiping the sanded wood with a damp cloth, letting it dry, and giving it a final light pass with 600-grit paper before oiling.
- Variation: Dip the end of the handle into non-toxic matte milk paint for a stylish, modern color block.
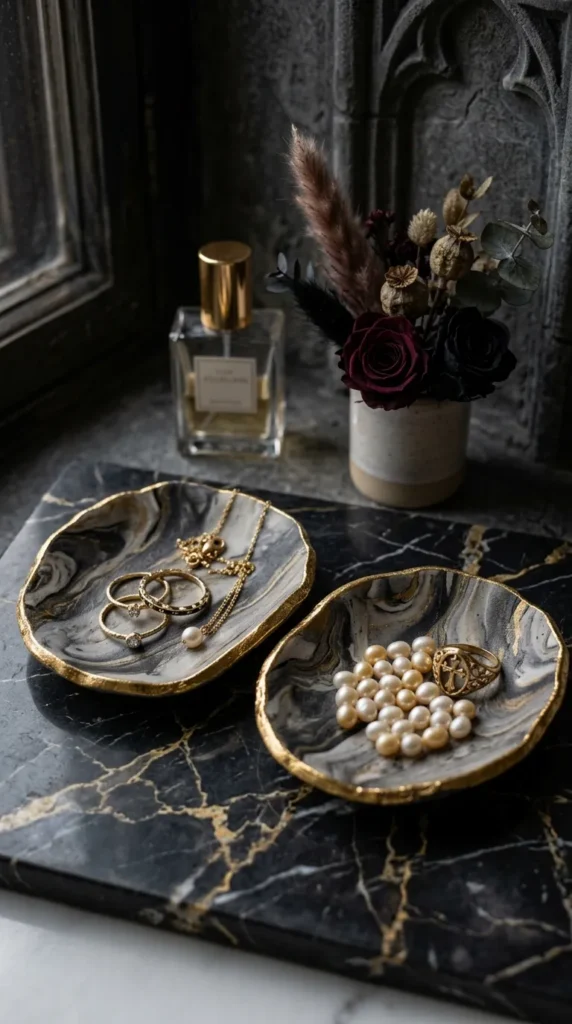
4. Marbled Ceramic Jewelry Trinket Dishes
Artisanal clay jewelry dishes with liquid gold rims provide an exquisite bedside resting place for rings, earrings, and daily treasures.
- What This Idea Means: Functional art that transforms small vanity moments into luxurious daily rituals.
- Materials Needed:
- Polymer clay in coordinating tones (e.g., Pure White, Marble Gray, Terracotta, Ochre, or Soft Sage)
- Clay rolling pin with depth guide rings
- Small oven-safe ceramic bowls (for form shaping)
- Craft hobby blade or circular clay cutter
- Metallic gold leaf liquid paint with a fine detail paintbrush
- Oven-safe baking sheet and parchment paper
- How to Make It:
- Conditioning: Roll out individual colors of polymer clay into thin snake-like ropes.
- Marbling: Twist the ropes together, fold them in half, twist again, and gently roll the bundle into a ball. Roll flat with your pin to reveal the natural marbled ribbons.
- Cutting: Cut out a clean 4-inch circle using your cutter or an upturned bowl and craft blade.
- Shaping: Gently press the clay circle into the base of an oven-safe ceramic bowl to form a shallow dish curve.
- Baking: Bake at 275°F (135°C) for 30 minutes. Allow to cool completely inside the oven before removing.
- Gilding: Paint the outer rim with liquid gold gilding paint. Allow to cure for 24 hours.
- Tips & Variations:
- Tip: Keep your work surface and rolling tools pristine by wiping them with rubbing alcohol before starting.
- Variation: Stamp custom initials or anniversary dates into the center of the clay using brass letter stamps before baking.
5. Artisanal Infused Finishing Salts in Glass Apothecary Vials
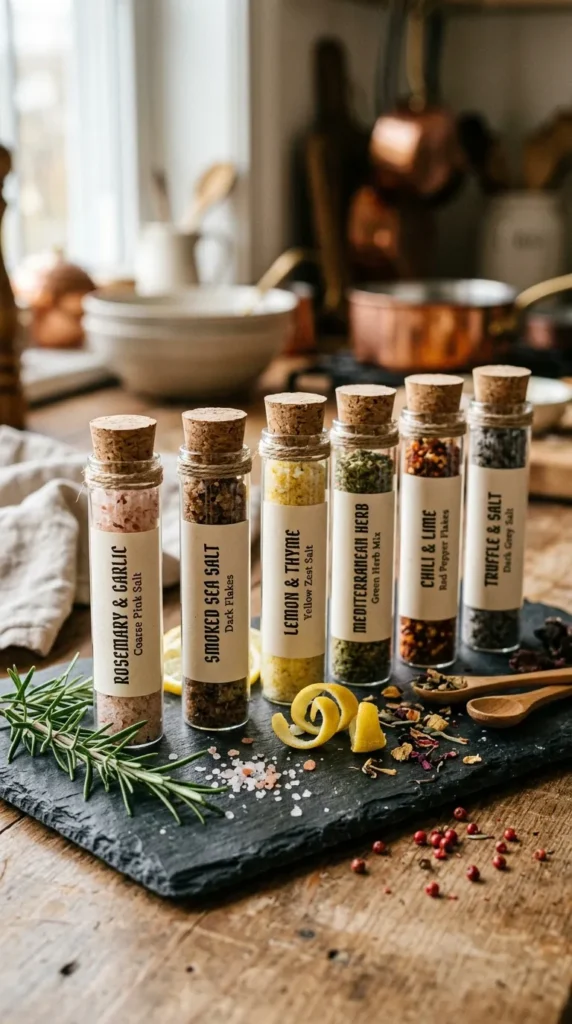
Elevate any home chef’s pantry with bespoke, small-batch finishing salts infused with rich aromatics, citrus oils, and herbs.
- What This Idea Means: A culinary indulgence that adds artisanal flair and refined flavor profiles to everyday meals.
- Materials Needed:
- Coarse natural flake sea salts (Maldon or Fleur de Sel)
- Infusion ingredients: Dehydrated black truffle, dried rosemary, organic lemon zest, smoked paprika, edible rose petals, or dried chili flakes
- High-clarity glass test tubes or corked apothecary jars
- Natural parchment cardstock labels and baker’s twine
- How to Make It:
- Ingredient Preparation: Ensure all citrus zests and herbs are completely dehydrated to prevent moisture contamination and clump formation.
- Blending: In a clean mortar, gently crush your aromatics. Slowly fold in the sea salt flakes, taking care not to crush the delicate pyramid crystal structures.
- Bottling: Funnel the custom blends into sterilized glass apothecary vials.
- Sealing: Push cork stoppers firmly into place and seal with a band of custom paper tape or dipped paraffin wax.
- Labeling: Tie custom ingredient tags around each vial neck detailing flavor pairings (e.g., Smoked Rosemary Flake for Steaks, Lemon Thyme for Roasted Vegetables).
- Tips & Variations:
- Tip: Create a complementary trio pack containing: 1) Lemon Herb, 2) Smoked Chipotle, and 3) Black Truffle.
- Variation: Build a custom wooden caddy to hold three test tubes upright on the dining counter.
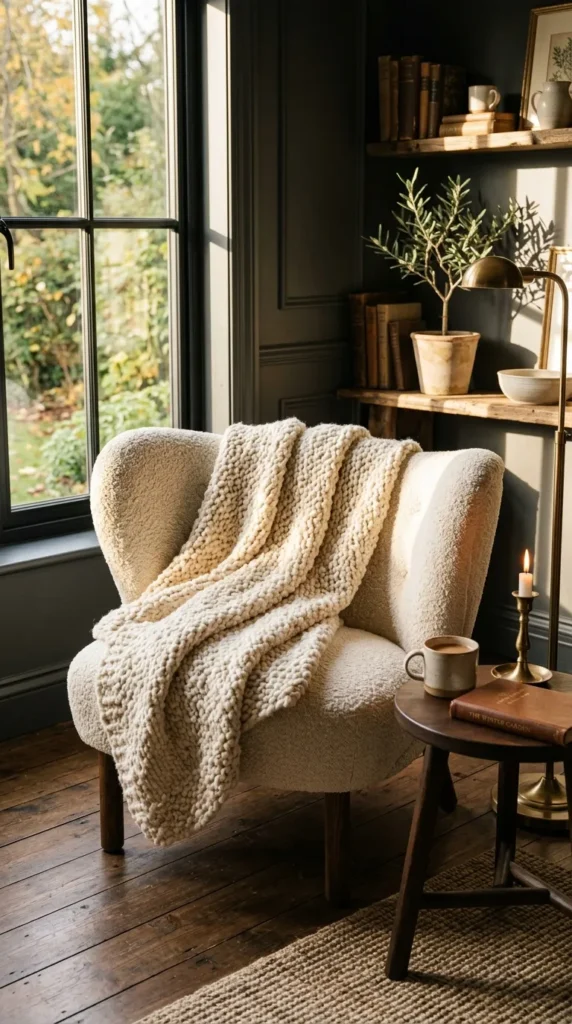
6. Chunky Hand-Knit Wool Bouclé Throw Blanket
A heavyweight hand-knit throw made with zero needles using loop-knitting techniques produces a show-stopping, ultra-cozy interior accent.
- What This Idea Means: Pure tactile comfort, hygge, and relaxed contemporary luxury for the modern living room.
- Materials Needed:
- 5–7 skeins (approx. 140 yards) of jumbo chenille or roving core-spun wool yarn
- Smooth, clean workspace (large table or clean hard floor)
- Scissors and large-eye blunt tapestry needle
- How to Make It:
- Cast On: Form a slipknot with a 6-inch tail. Pull the working yarn through the loop to form your first chain stitch. Repeat until you have a foundation chain of 25–30 loops (approx. 40 inches wide).
- First Row: Working from right to left, pull working yarn up through each chain loop to create open standing loops approximately 2 inches tall.
- Subsequent Rows: Weave the working yarn back and forth across the rows, pulling new loops through the existing row’s loops. Maintain consistent loop height for uniform stitch tension.
- Cast Off: When blanket reaches desired length (approx. 60 inches), work two loops: pull the second loop through the first. Repeat down the entire row to bind off.
- Finishing: Weave all remaining tails back into the blanket’s edges securely.
- Tips & Variations:
- Tip: Check your loop height every two rows to ensure the edges remain straight and tension stays balanced.
- Variation: Create a color-blocked design by switching yarn colors halfway through the blanket length.
7. Organic Cold-Process Botanical Bar Soaps
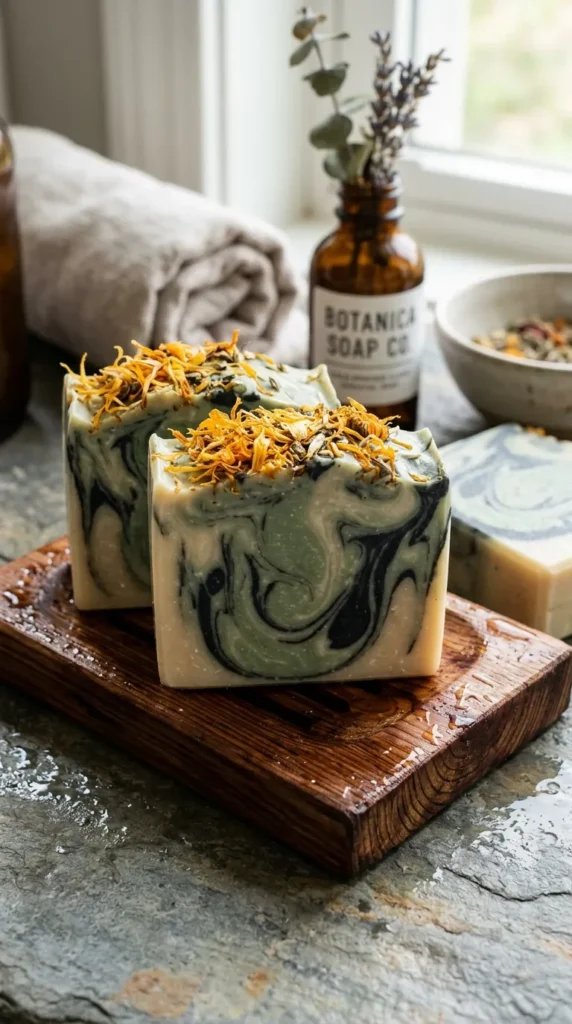
Handcrafted soaps made with plant-based oils, clays, and botanical infusions nourish the skin while looking like modern geological sculptures.
- What This Idea Means: A mindful self-care gift made of pure, natural, nourishing ingredients without artificial detergents.
- Materials Needed:
- High-purity Olive Oil, Coconut Oil, Shea Butter, and Castor Oil
- 100% Sodium Hydroxide (Lye) and Distilled Water
- Natural French green clay, pink kaolin clay, or activated bamboo charcoal
- Pure essential oils (Lavender, Cedarwood, Eucalyptus, or Sweet Orange)
- Silicone loaf soap mold with wooden support box
- Safety goggles, chemical-resistant gloves, stick immersion blender, and digital scale
- How to Make It:
- Lye Preparation: Wearing safety gear, slowly pour lye crystals into distilled water (never reverse) in a well-ventilated area. Stir until dissolved; let cool to 100–110°F (38–43°C).
- Oil Preparation: Melt solid butters and combine with liquid carrier oils in a stainless-steel pot, bringing the mixture to 100–110°F.
- Emulsification: Slowly pour lye water into the oils. Submerge your immersion blender and pulse in short bursts until the mixture reaches a light trace (consistency of thin pudding).
- Botanicals & Fragrance: Stir in natural mineral clays and pure essential oils with a spatula.
- Molding & Curing: Pour the soap batter into the mold. Texture the surface with a spoon and top with dried calendula petals. Insulate for 24 hours, unmold, slice into 1-inch bars, and cure in a well-ventilated space for 4–6 weeks.
- Tips & Variations:
- Tip: Use a crinkle cutter or wire soap slicer for clean, professional edges.
- Variation: Swirl French pink clay and activated charcoal together for a stunning terrestrial canyon pattern.
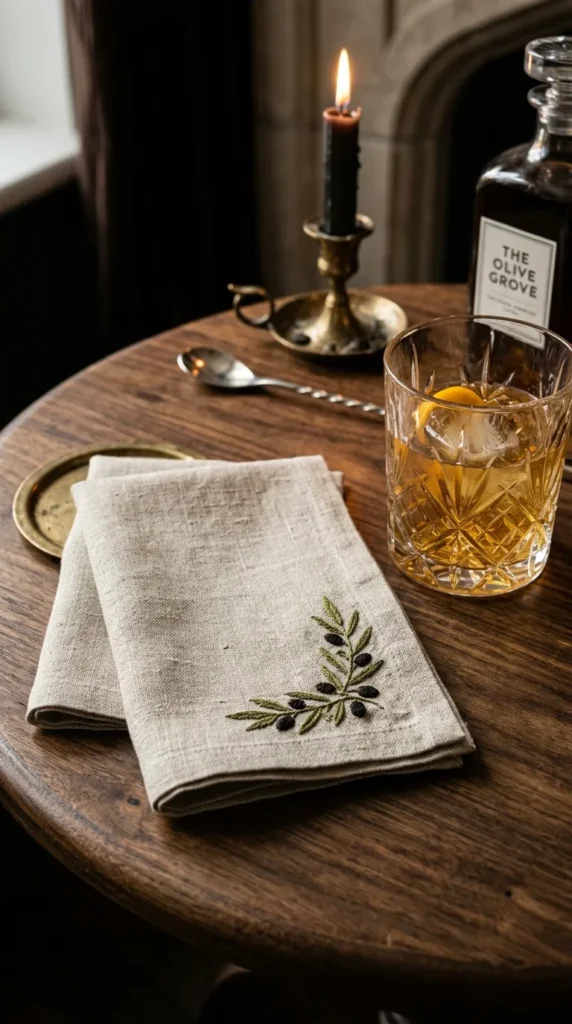
8. Embroidered Linen Cocktail Napkins
Durable Belgian linen cocktail napkins adorned with dainty, hand-embroidered botanical sprigs elevate any entertaining setup with quiet luxury.
- What This Idea Means: Refined entertaining essentials that blend heritage handwork with chic tablescape aesthetics.
- Materials Needed:
- 100% natural pre-washed flax linen fabric (natural oatmeal, crisp white, or sage)
- Stranded cotton embroidery floss (DMC neutral and botanical shades)
- Embroidery needle (Size 7 or 8) and 4-inch wooden embroidery hoop
- Water-soluble fabric marker or transfer paper
- Sewing machine or iron-on hem tape for finished edges
- How to Make It:
- Cutting: Cut linen into 7×7-inch squares. Pull individual threads to ensure completely square cuts.
- Edge Finishing: Create a clean 1/4-inch hem with mitered corners or gently pull warp threads to produce a neat 1/4-inch fringed edge.
- Pattern Transfer: Use a water-soluble marker to sketch a minimalist botanical sprig, olive branch, or monogram in the corner of each napkin.
- Embroidery: Secure linen in the hoop. Use a delicate backstitch for stems and satin stitch or lazy daisy stitches for leaves and flower petals.
- Finishing: Rinse napkin in cool water to dissolve marker lines, let air dry flat, and give a crisp steam press with a hot iron.
- Tips & Variations:
- Tip: Keep your embroidery floss thread tension light to prevent linen from puckering.
- Variation: Embroider a custom four-piece set with a different matching herb on each napkin (Sage, Thyme, Rosemary, Oregano).
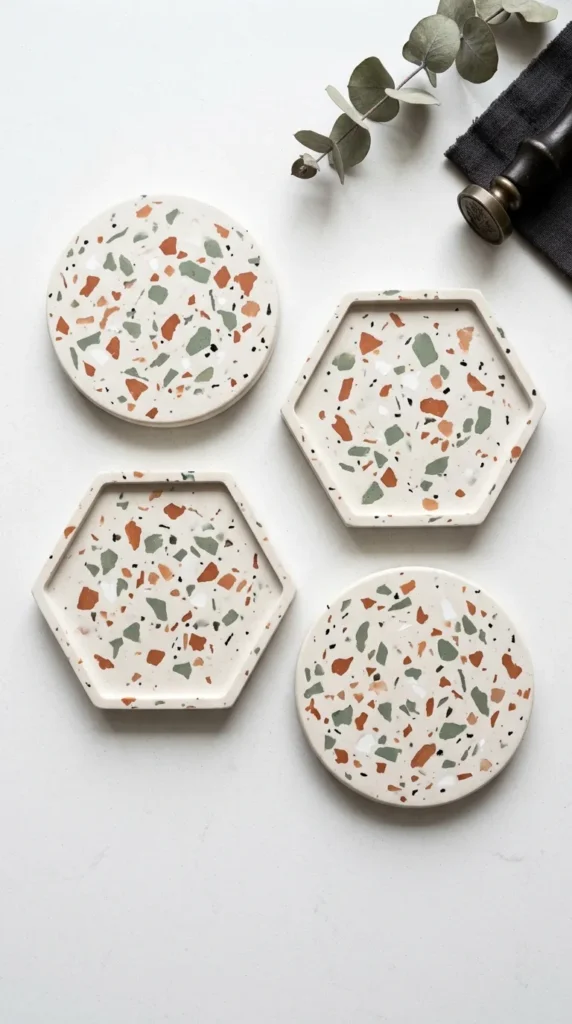
9. Terrazzo Coasters with Jesmonite
Jesmonite terrazzo coasters bring vibrant, mid-century Memphis design into a modern, sophisticated home accessory.
- What This Idea Means: Playful geometric luxury made using lightweight, eco-resin composite materials.
- Materials Needed:
- Jesmonite AC100 liquid and base powder kit
- Liquid pigment dispersions (Black, Ochre, Terracotta, Olive)
- Round or hexagonal silicone coaster molds
- Plastic mixing cups, spatulas, and wet-and-dry sandpaper (Grits 80, 120, 240, 400)
- Acrylic or food-grade wax sealer
- How to Make It:
- Making the Chips: Mix a small amount of Jesmonite, add pigment, pour onto a flat plastic tray in a paper-thin layer, and let cure for 30 minutes. Break the sheet into colorful flakes and crushed chips.
- Main Pour: Mix a fresh batch of white or neutral base Jesmonite. Stir in your colored terrazzo chips until evenly distributed throughout the slurry.
- Molding: Pour the mixture into silicone molds, tapping edges firmly to eliminate air voids. Allow to set for 1–2 hours.
- Sanding: Unmold the coasters. Sand surfaces under a trickle of running water with coarse 80-grit paper to reveal the colorful embedded terrazzo chips. Progress through finer grits until completely smooth.
- Sealing: Dry thoroughly and apply two coats of clear water-resistant acrylic sealer.
- Tips & Variations:
- Tip: Wet sanding prevents dust and keeps sandpaper from clogging up during finishing.
- Variation: Use metallic bronze or copper flakes alongside your terrazzo chips for subtle reflective shine.
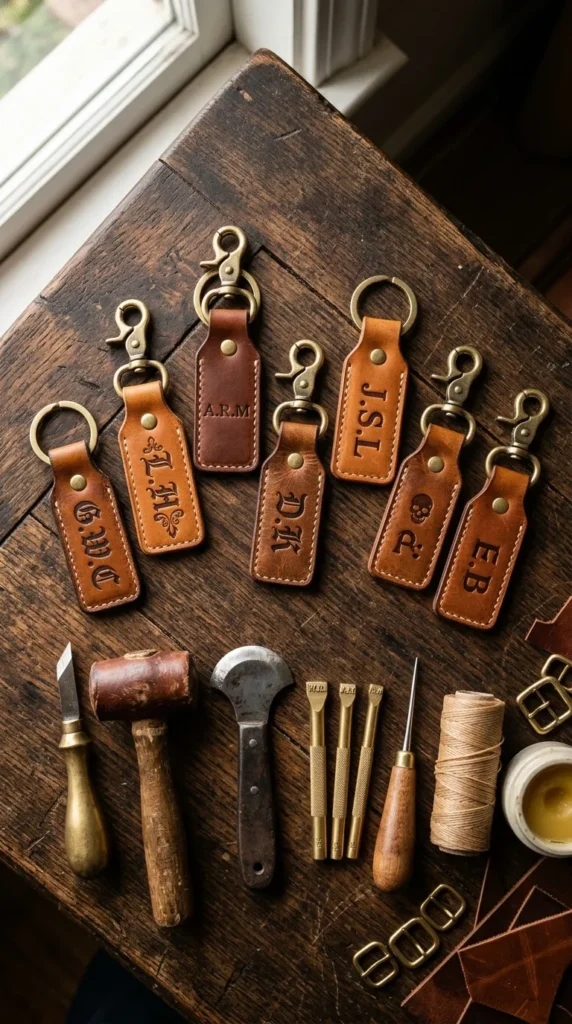
10. Handcrafted Leather Key Fobs & Cord Organizers
Cleanly burnished, vegetable-tanned leather key fobs and tech accessories provide everyday utilitarian beauty that develops a rich, personal patina over years of use.
- What This Idea Means: Functional, minimalist EDC (everyday carry) gear built to last a lifetime.
- Materials Needed:
- 4–5 oz Full-grain vegetable-tanned leather strips
- Solid brass swivel snap hooks, split keyrings, and heavy-duty brass button studs
- Rotary hole punch, leather edge beveler, and wood slicker
- Tokonole burnishing gum or natural beeswax
- Steel alphabet stamping set and brass mallet
- How to Make It:
- Cutting: Cut leather into 0.75-inch by 6-inch strips with clean 45-degree angle ends using a utility knife and steel ruler.
- Beveling: Edge-bevel the perimeter of each strip to soften square edges.
- Personalizing: Lightly dampen the leather surface with a wet sponge and stamp custom initials or dates into the grain using the metal punch set.
- Hardware Installation: Punch holes for the brass stud fasteners. Slide the solid brass clip into the leather loop fold and secure with the screw stud.
- Edge Burnishing: Apply Tokonole gum to the raw edges. Vigorously rub with a wooden slicker until edges become glassy, dark, and smooth.
- Tips & Variations:
- Tip: Use a brass mallet rather than steel when stamping to avoid damaging your punch tools.
- Variation: Apply natural leather neatsfoot oil to deepen the raw hide into a rich caramel hue before gifting.
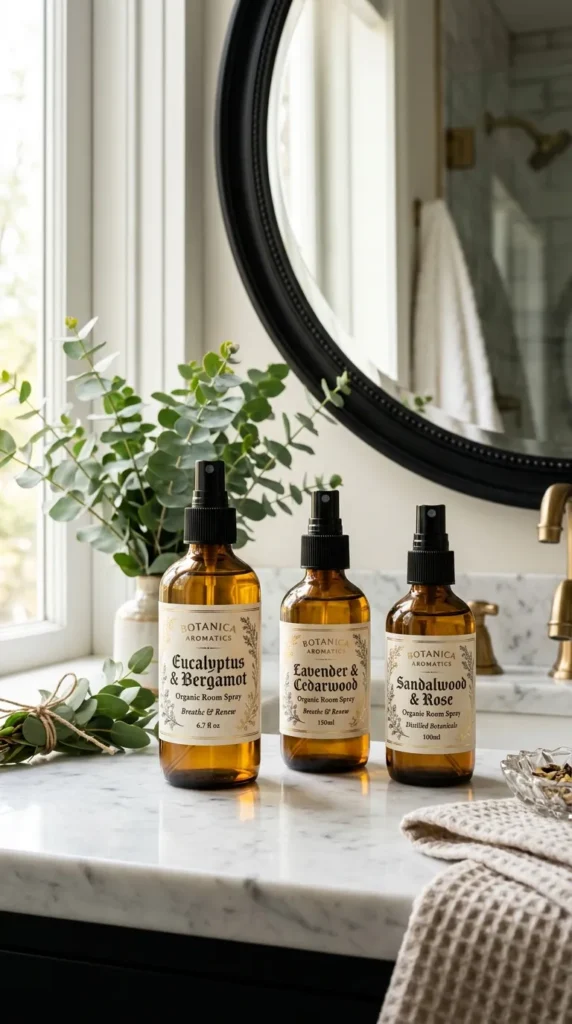
11. Custom Scented Organic Room Sprays in Amber Glass
Aromatherapeutic linen and room sprays formulated with distilled floral waters, witch hazel, and essential oils freshen living spaces naturally.
- What This Idea Means: A spa-like sensory retreat bottled for home, linens, and workspace.
- Materials Needed:
- 4 oz or 8 oz amber glass spray bottles with fine mist spray nozzles
- Organic witch hazel or high-proof organic perfumer’s alcohol
- Distilled water
- Premium therapeutic-grade essential oils (e.g., French Lavender, Frankincense, Cardamom, Sweet Basil)
- Custom waterproof textured paper labels
- How to Make It:
- Fragrance Blending: In a glass measuring beaker, formulate your scent profile using top, middle, and base notes (e.g., 20 drops Bergamot, 15 drops Atlas Cedarwood, 10 drops Vetiver).
- Binding: Add 2 oz of witch hazel or perfumer’s alcohol to the oils and swirl gently. The alcohol acts as an emulsifier to disperse essential oils evenly.
- Dilution: Top with 2 oz of distilled water and stir thoroughly.
- Bottling: Pour the mixture into amber glass bottles and screw the fine mist spray pump on tightly.
- Labeling: Apply an elegant, minimalist label detailing notes, batch date, and directions for use.
- Tips & Variations:
- Tip: Let the bottled spray rest for 48 hours before gifting to allow fragrance notes to marry completely.
- Variation: Substitute distilled water with pure organic rosewater or chamomile hydrosol for an extra layer of luxury.
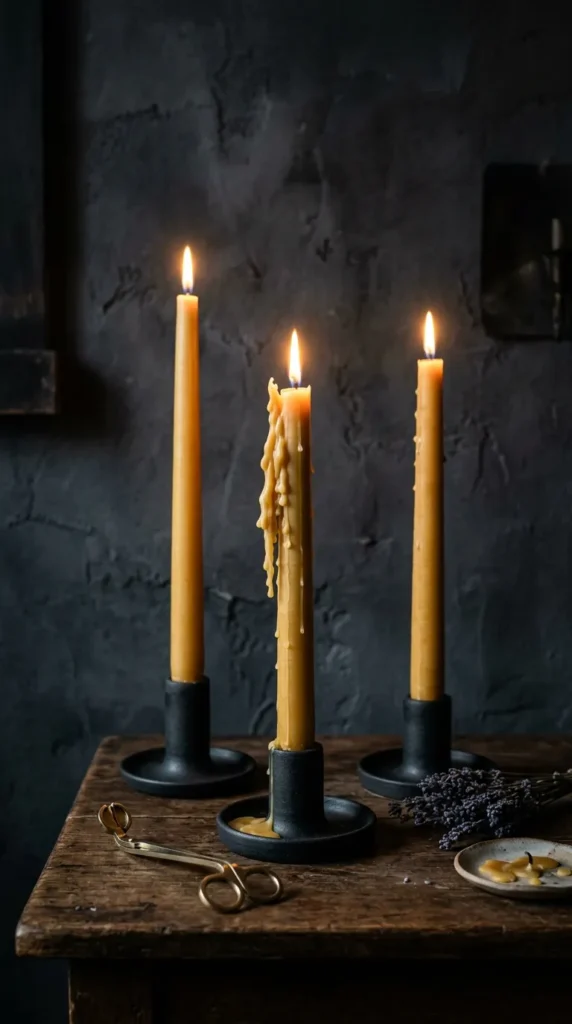
12. Dipped Beeswax Taper Candles
Hand-dipped solid beeswax tapers cast a warm, honey-scented amber glow while burning cleanly without dripping.
- What This Idea Means: Honoring ancestral craftsmanship with natural, non-toxic candlelight.
- Materials Needed:
- 100% pure filtered yellow or white beeswax pellets
- Square-braid pure cotton candle wick (#1 or #2 size)
- Tall, narrow dipping pitcher or double-boiler vat
- Candle drying rack or wooden dowel suspended between two chairs
- Small weights or nuts (to keep wick straight on first dip)
- How to Make It:
- Melting: Melt beeswax in your tall dipping can until it reaches a stable 160–165°F (71–74°C).
- Wick Preparation: Cut a length of cotton wick twice the desired length of your candle (around 24 inches) plus 4 inches for handling.
- First Dips: Fold wick in half. Dip both ends into the molten wax for 30 seconds to saturate the fibers. Pull out, straighten wicks smoothly, and let cool for 2 minutes.
- Layering: Dip wicks smoothly down and immediately pull back out in one continuous, fluid motion. Wait 2 minutes between dips for wax to solidify. Repeat for 25–35 dips until candles reach your desired diameter.
- Trimming: Trim candle bases flat with a warm knife while wax is still slightly pliable.
- Tips & Variations:
- Tip: Never rush dipping; cooling between coats prevents the core from melting away previous layers.
- Variation: Dip the bottom third of the finished taper in charcoal-infused black beeswax for a modern, dramatic two-tone finish.
13. Minimalist Hand-Tufted or Punch Needle Mug Rugs
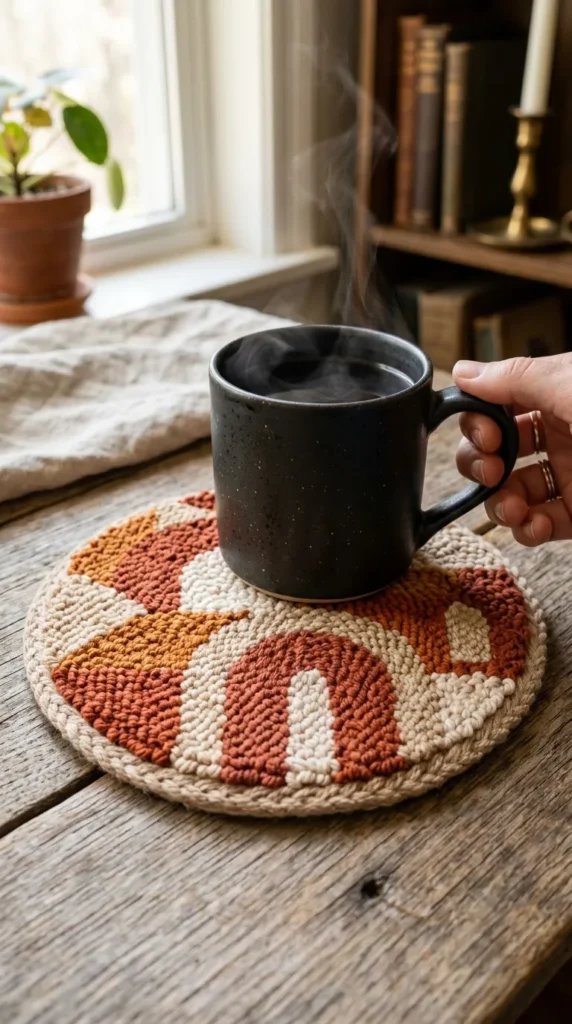
Cozy punch needle mini-rug coasters protect tabletops while adding soft texture to coffee and tea rituals.
- What This Idea Means: Modern fiber art scaled down into functional tabletop accessories.
- Materials Needed:
- Fine punch needle tool (like Oxford #14 or adjustable needle)
- Premium monks cloth stretched tightly on a non-slip embroidery frame
- Chunky worsted wool yarn in modern earth tones
- Fabric glue / non-toxic latex rug adhesive
- Heavy felt backing fabric and sharp tailoring shears
- How to Make It:
- Sketching: Draw simple abstract geometric shapes (arches, wave lines, circles) directly onto the stretched monks cloth.
- Punching: Thread your needle with wool yarn. Holding the tool like a pencil, punch loops continuously into the fabric, keeping stitch height uniform.
- Adhesion: Paint the reverse side of the completed loops with a thin coat of rug adhesive to permanently lock yarn fibers in place. Let dry 24 hours.
- Trimming: Cut the project from the frame, leaving a 1/2-inch border of monks cloth. Fold borders flat to the back and glue down.
- Backing: Cut a matching piece of wool felt and adhere firmly to the underside for a tidy finish.
- Tips & Variations:
- Tip: Keep your punch needle pressed flush against the fabric at all times to prevent irregular loop heights.
- Variation: Mix cut-pile techniques with loop pile for dynamic, multi-dimensional texture.
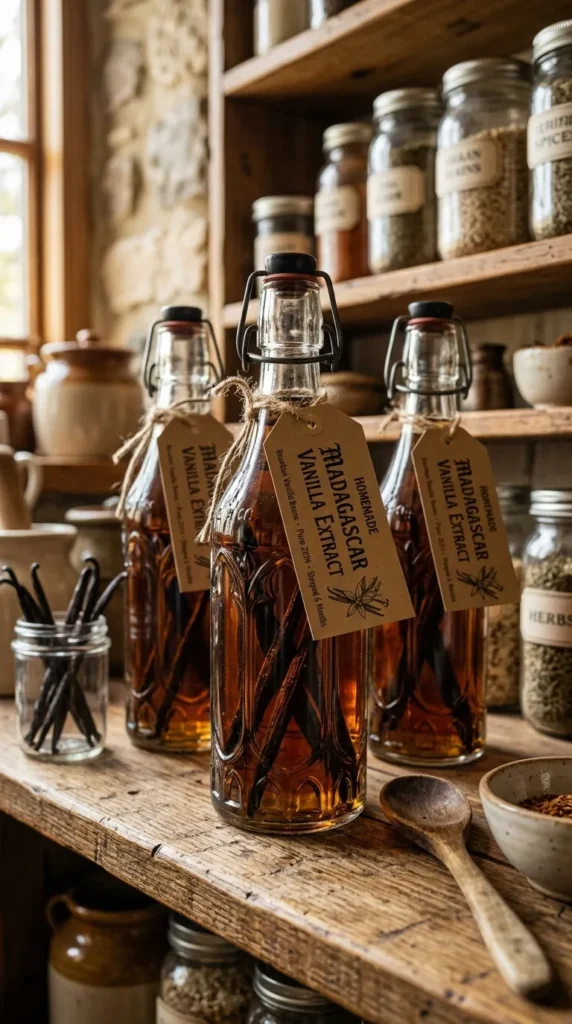
14. Artisan Vanilla Extract in Custom Vintage Swing-Top Bottles
Homemade vanilla extract made with grade-A whole vanilla beans and clean spirits is a staple luxury gift for bakers that matures in flavor over time.
- What This Idea Means: A gourmet kitchen staple that embodies patience, culinary craftsmanship, and timeless baking tradition.
- Materials Needed:
- Grade-A Madagascar Bourbon, Tahitian, or Mexican vanilla beans (6–8 beans per 8 oz bottle)
- 80-proof (40% ABV) premium vodka, dark rum, or bourbon
- 8 oz embossed or vintage swing-top glass bottles
- Small kitchen funnel, paring knife, cutting board, and kraft paper swing tags
- How to Make It:
- Bean Preparation: Slice each vanilla bean lengthwise with a sharp knife, leaving 1/2 inch connected at the end to keep the bean intact while exposing the inner seeds.
- Bottling: Insert 6 to 8 prepared beans into each sterilized glass bottle.
- Filling: Use a funnel to pour alcohol completely over the beans, making sure they are fully submerged to prevent spoilage.
- Sealing: Fasten the swing top hermetically shut. Shake vigorously for 30 seconds.
- Aging: Store in a cool, dark place. Label with a “Ready to Enjoy By” date (minimum 6 months from bottling; best at 1 year).
- Tips & Variations:
- Tip: Using dark rum or bourbon adds complex caramel and toffee notes compared to neutral vodka.
- Variation: Add a single organic Ceylon cinnamon stick or strip of dried orange peel for a warm seasonal twist.
15. Sculptural Clay Bookends
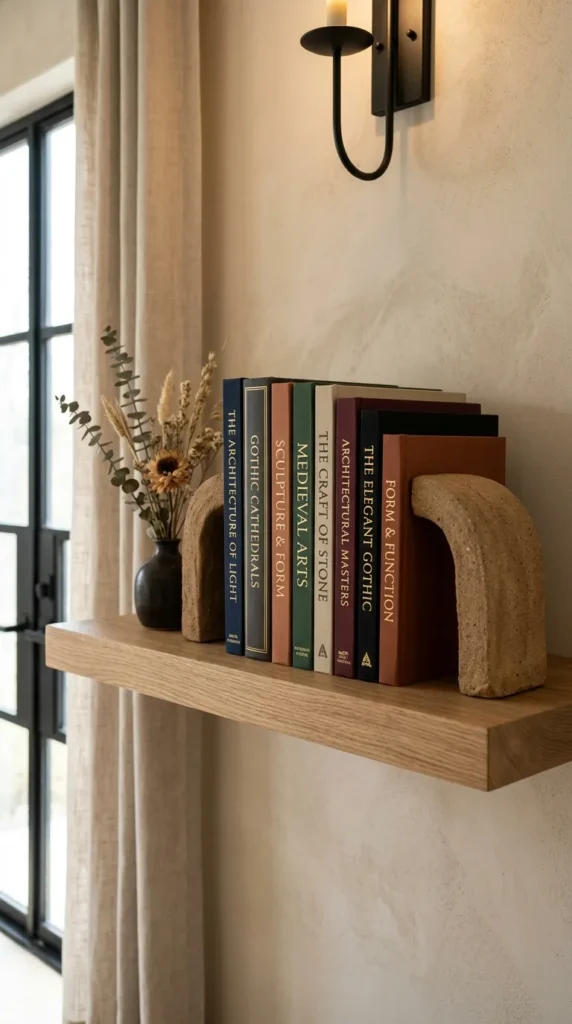
Heavy, sculptural ceramic bookends with clean arches or organic forms keep bookshelves organized while serving as standalone modern art pieces.
- What This Idea Means: Architectural home accents that balance function with bold, minimalist interior design.
- Materials Needed:
- Air-dry stone clay or oven-bake polymer clay (Terracotta or Sandstone finish)
- Lead fishing weights or washed pea gravel (to add internal heft)
- Clay modeling tools, wire clay cutter, and sponge
- Textured stone-effect or matte acrylic paint
- Non-scratch felt pads for the base
- How to Make It:
- Armature & Weighting: Form a dense internal core using gravel or lead weights wrapped inside foil to give each bookend substantial weight (at least 2 lbs each).
- Clay Building: Roll clay into 1/2-inch thick slabs. Wrap and mold around the heavy cores, shaping into geometric arches, steps, or organic rounded shapes.
- Smoothing: Smooth all joints and seams with a damp sponge and wooden rib tools.
- Curing: Allow air-dry clay to cure slowly for 3–5 days away from direct heat to prevent cracking (or bake if using polymer).
- Finishing: Sand lightly and apply two coats of matte limestone or terracotta-textured paint. Affix felt pads to the base.
- Tips & Variations:
- Tip: Dry the pieces slowly under a loose plastic bag to ensure even moisture evaporation and avoid hairline cracks.
- Variation: Leave raw stone clay unpainted and sand with 400-grit for a natural, honed-marble feel.
16. Hand-Dyed Raw Silk & Linen Pillow Covers
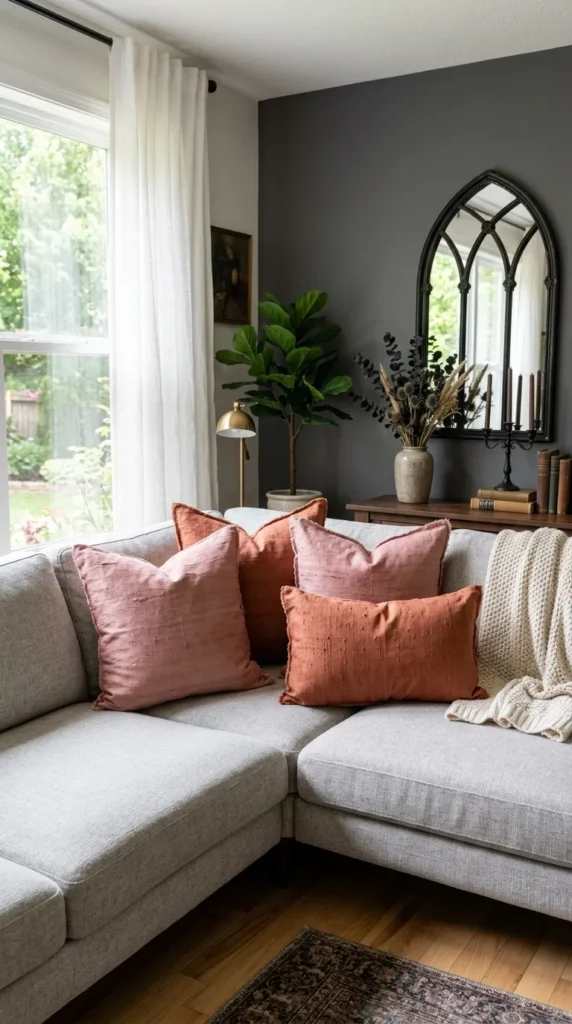
Naturally dyed throw pillow covers colored with botanical extracts like avocado stones, indigo, or marigolds introduce soft, living hues to modern rooms.
- What This Idea Means: Eco-conscious textile design that infuses living spaces with soft, plant-derived color palettes.
- Materials Needed:
- 100% natural raw silk noil or heavy flax linen fabric
- Natural dye source: Avocado pits/skins (for dusty rose), dried marigold flowers (for warm gold), or madder root (for terracotta)
- Alum (Potassium aluminum sulfate) for mordanting
- Large stainless-steel dye pot and wooden stirring spoon
- Matching hidden zipper or envelope pillow back closure
- How to Make It:
- Scouring & Mordanting: Wash fabric thoroughly in gentle detergent. Simmer fabric in water with 10% weight-of-fabric Alum for 1 hour to help dye bond permanently.
- Extracting Dye: Simmer your plant materials (e.g., avocado pits) in water for 1–2 hours until a concentrated, rich dye bath develops. Strain out solids.
- Dyeing: Submerge wet mordanted fabric into the warm dye bath. Stir continuously for 45–60 minutes, ensuring the fabric moves freely for even color.
- Rinsing: Remove fabric, rinse gently under cool water until clear, and hang to dry in the shade.
- Sewing: Cut and sew the dyed fabric into an 18×18-inch cushion cover with an envelope fold or concealed zipper.
- Tips & Variations:
- Tip: Let the fabric cool overnight inside the dye bath before rinsing to achieve deeper, long-lasting shades.
- Variation: Fold and clamp the fabric using Shibori wooden blocks before dyeing to produce crisp geometric resist patterns.
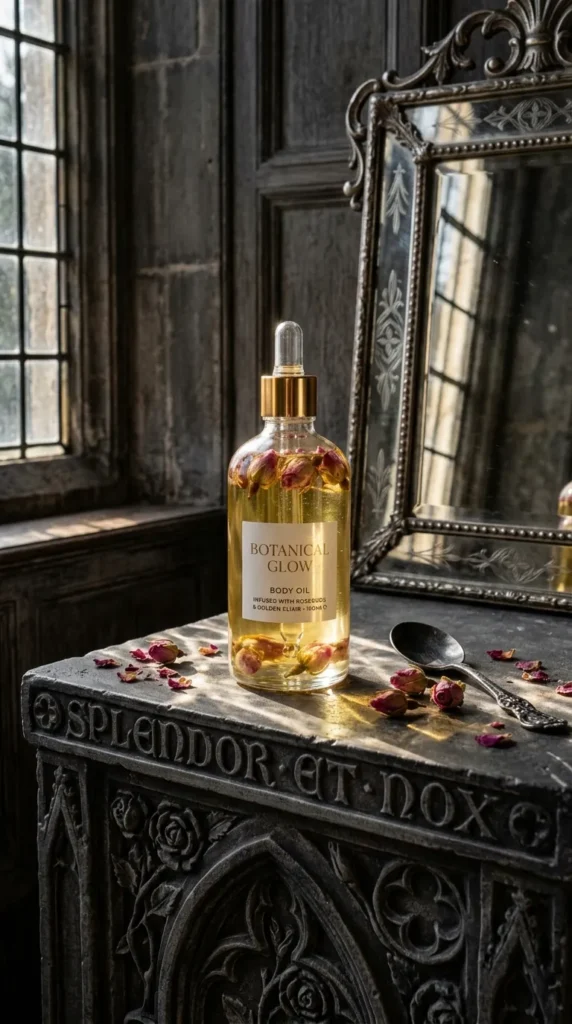
17. Botanical-Infused Hair & Body Glow Oils
Nourishing dry body oils infused with golden jojoba, squalane, and floating dried botanicals offer head-to-toe hydration with a light, non-greasy feel.
- What This Idea Means: Clean, non-toxic beauty formulated with plant-powered botanicals.
- Materials Needed:
- Carrier oils: Golden Jojoba oil, Caprylic/Capric Triglycerides (Fractionated Coconut oil), and Olive Squalane
- Dried botanical accents: Whole mini globe amaranth, rosebuds, or jasmine blossoms
- Pure essential oils: Neroli, Sandalwood, Jasmine sambac, or Sweet Orange
- 2 oz clear glass bottles with glass pipette droppers
- Gold foil custom cosmetic labels
- How to Make It:
- Blending Carriers: In a sanitized glass beaker, mix 50% Jojoba oil, 30% Fractionated Coconut oil, and 20% Squalane for a lightweight dry-oil texture.
- Fragrance: Stir in 1% essential oil blend (approx. 12 drops per 2 oz bottle) for a subtle, natural fragrance.
- Botanical Accent: Using tweezers, place 2–3 completely dehydrated flower buds into each glass dropper bottle.
- Filling: Pour the blended oil into the bottles over the botanicals, leaving 1/2 inch of headspace for the dropper pipette.
- Sealing: Screw dropper lids on tightly and apply your custom label.
- Tips & Variations:
- Tip: Only use 100% dehydrated botanicals; any residual moisture can cause clouding or spoil the oil.
- Variation: Add a pinch of cosmetic-grade bronze mica powder to turn it into a shimmering summer body illuminator.
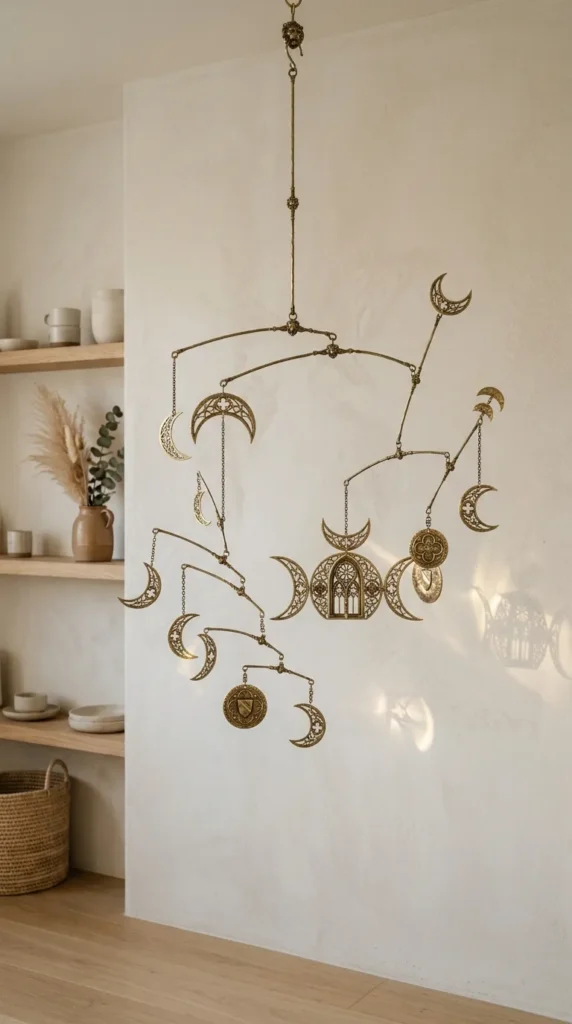
18. Hand-Forged Brass Wall Hanging Mobiles
Light-catching kinetic brass mobiles bring subtle, calming movement and architectural warmth to empty corners and window spaces.
- What This Idea Means: Kinetic metal art that celebrates negative space, balance, and the warmth of solid brass.
- Materials Needed:
- 20-gauge solid sheet brass and 1/16-inch brass rods
- Jeweler’s saw or heavy-duty metal sheet shears
- Metal hole-punch pliers and round-nose jeweler’s pliers
- High-grit emery paper and Brasso metal polishing compound
- Unfinished raw brass jump rings and monofilament thread
- How to Make It:
- Designing: Draw modern balanced shapes (crescents, arches, circles, teardrops) onto paper templates.
- Cutting: Trace designs onto brass sheet and cut carefully using jeweler’s saw or sheet shears.
- Drilling: Punch small hanging holes at the top and bottom balance points of each brass piece.
- Sanding & Polishing: Sand cut edges smooth with fine emery paper. Polish brass surfaces to a mirror shine with Brasso, or buff with a scouring pad for a brushed matte look.
- Assembling: Connect shapes and balanced crossbars using brass jump rings and fine brass wire, testing the balance point of each tier as you go.
- Tips & Variations:
- Tip: Find the balance point of each horizontal crossbar by balancing it on your fingertip before drilling connection holes.
- Variation: Combine raw brass pieces with small ceramic discs or polished raw crystal pendants.
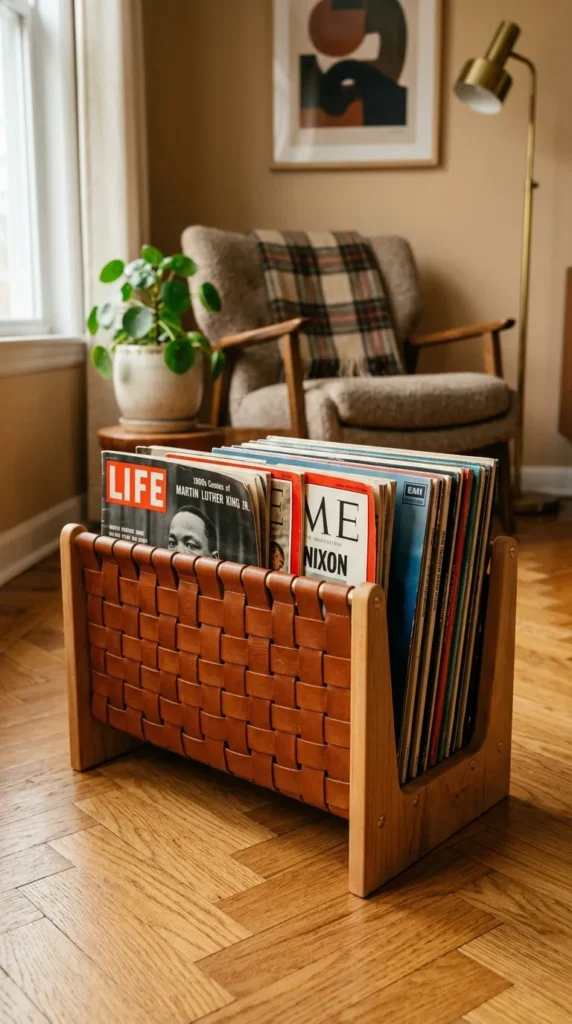
19. Woven Leather Magazine & Vinyl Record Holder
A freestanding birch wood and woven saddlery-leather holder provides an understated, functional storage solution for magazines, art books, or vinyl records.
- What This Idea Means: Mid-century modern carpentry that combines wood and leather for stylish organization.
- Materials Needed:
- 3/4-inch square hardwood dowels (Oak, Walnut, or Birch)
- 1-inch wide thick vegetable-tanned leather straps
- Brass wood screws, brass finishing washers, and screw hole plugs
- Miter saw, drill with counterbore bit, and screwdriver
- Sandpaper (120 and 220 grit) and matte wood wax finish
- How to Make It:
- Wood Frame: Cut four 16-inch hardwood legs and four 12-inch horizontal crossbars. Miter corner joints cleanly.
- Assembly: Drill pilot holes and assemble two matching rectangular frames using glue and brass screws. Sand thoroughly and apply a clear, natural wood wax.
- Leather Weaving: Cut leather straps to length. Fasten vertical straps securely between the bottom rails of the frame with brass upholstery tacks.
- Interlacing: Weave horizontal leather straps through the vertical base straps in an alternating grid pattern. Secure tightly to the outer frame.
- Finishing: Check structural alignment, ensure leather tension is uniform, and buff leather surfaces with a dry cloth.
- Tips & Variations:
- Tip: Pre-stretch leather straps by hanging a weight from them for an hour before fastening to prevent future sagging.
- Variation: Replace woven straps with a continuous sling of thick canvas or leather for a sleeker profile.
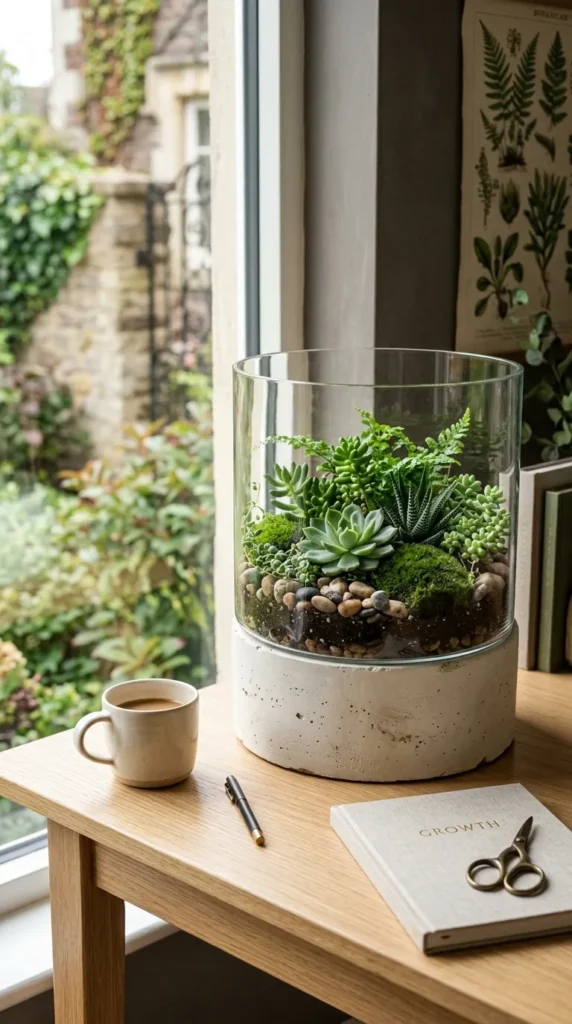
20. Artisanal Concrete & Glass Terrarium Planter
An architectural tabletop terrarium built from an organic cast-concrete base with an open glass cylinder creates a mini enclosed habitat for succulents, moss, or air plants.
- What This Idea Means: A modern terrarium combining raw, sturdy cast concrete with crystal-clear botanical display glass.
- Materials Needed:
- Quick-curing high-strength white cement mix
- Open-ended clear glass cylinder vase (approx. 5 inches wide, 6 inches tall)
- Round plastic tray mold (6 inches wide, 2 inches deep)
- Horticultural activated charcoal, fine river stones, and potting medium
- Selected mini succulents, air plants (Tillandsia), or preserved mood moss
- How to Make It:
- Base Casting: Mix white cement to a creamy consistency and pour into the round plastic tray mold.
- Seating the Glass: While concrete is still wet, press the rim of your glass cylinder 1/2 inch into the center of the concrete. Tap to settle and remove bubbles. Let cure for 48 hours.
- Demolding: Carefully remove the plastic mold from the hardened concrete base.
- Layering Drainage: Add a 1/2-inch layer of small river stones to the bottom interior, followed by a light layer of activated charcoal to keep the soil fresh.
- Planting: Add specialty potting mix and nestle your air plants, mini succulents, and lush green moss into the vessel.
- Tips & Variations:
- Tip: Lightly coat the glass cylinder’s bottom rim with petroleum jelly before pressing into concrete for cleaner release lines.
- Variation: Embed crushed sea glass or brass shavings into the concrete base before curing for subtle sparkle.