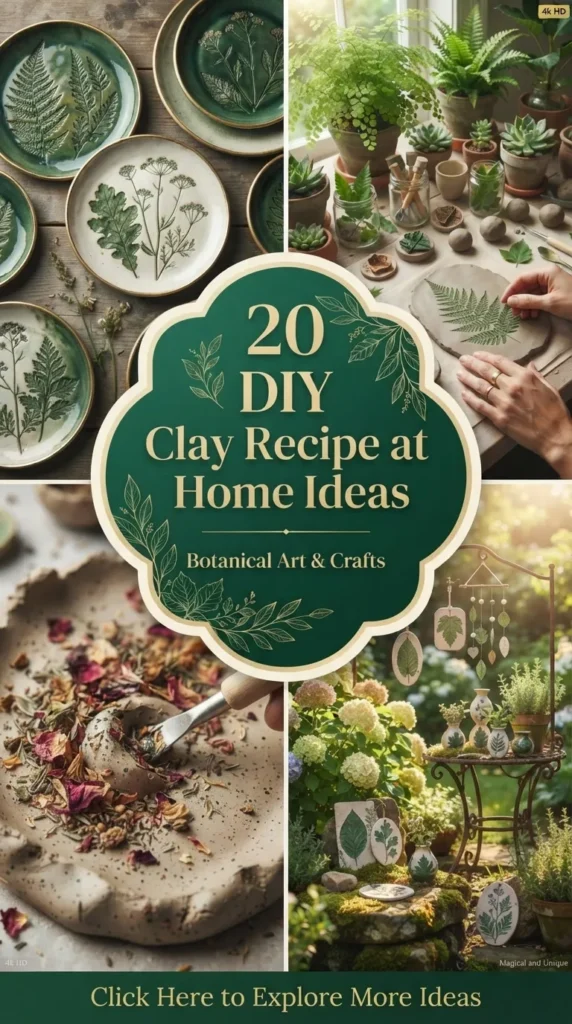
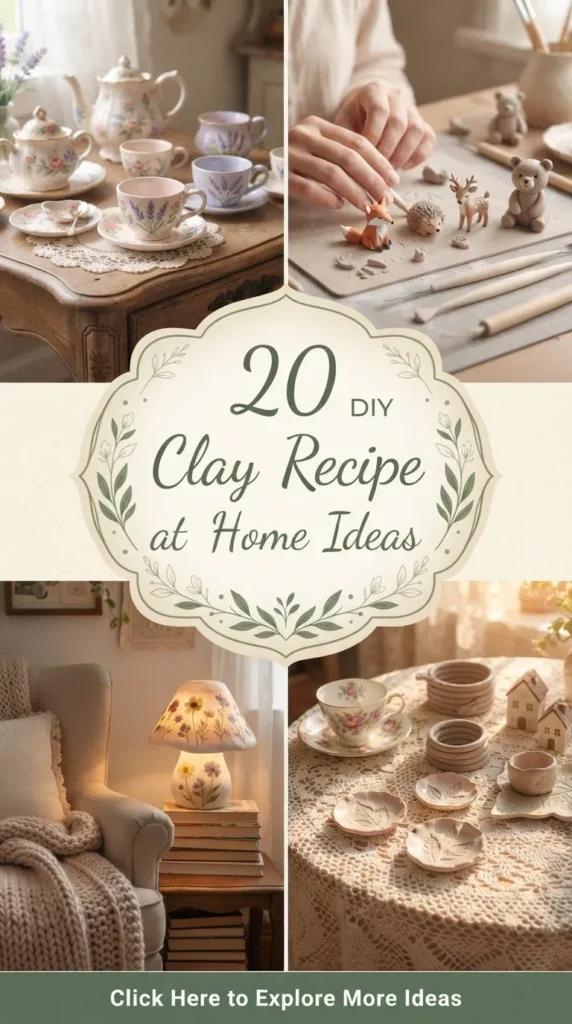
There is a quiet, meditative magic that happens the moment your fingers press into a lump of freshly prepared clay. For centuries, makers, sculptors, and artisans have sought the ultimate medium—one that holds its shape, accepts intricate details, dries to a durable finish, and remains accessible. While commercial polymer and ceramic clays line the aisles of craft stores, there is an entirely different level of creative satisfaction in brewing your own.
Making clay at home transforms you from a mere consumer into an alchemist. By combining basic household staples like cornstarch, baking soda, flour, glue, and natural binders, you can create specialized sculpting mediums tailored to every conceivable project. Whether you are crafting delicate heirloom trinket dishes, rustic botanical wall hangings, whimsical miniature figurines, or durable structural forms, homemade clay recipes offer an economical, sustainable, and deeply rewarding alternative.
This exhaustive guide explores 20 unique, Pinterest-ready DIY clay recipes you can make right in your own kitchen. Complete with precise ingredient breakdowns, scientific explanations of why they work, and step-by-step preparation instructions, this handbook will revolutionize your craft room.
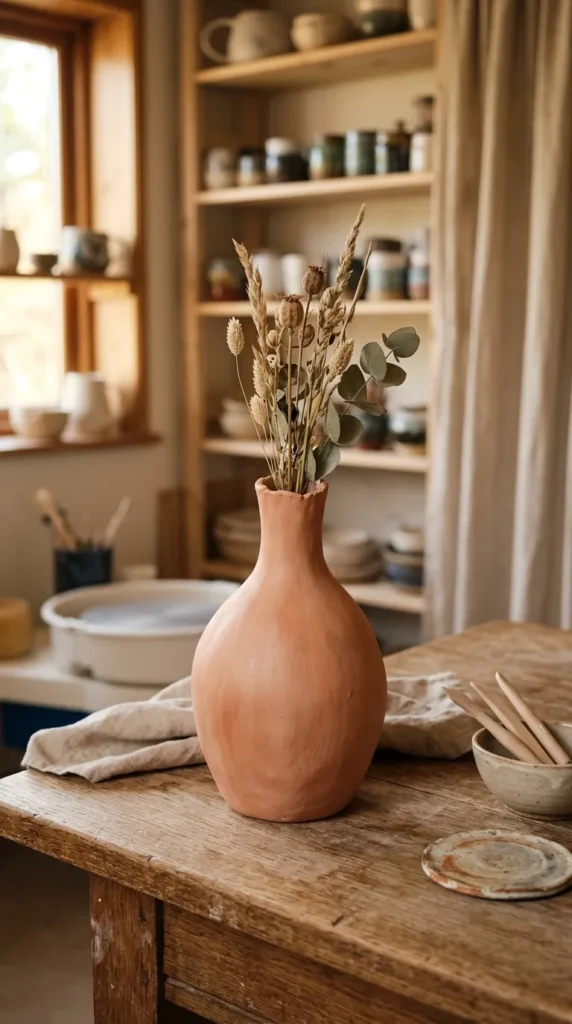
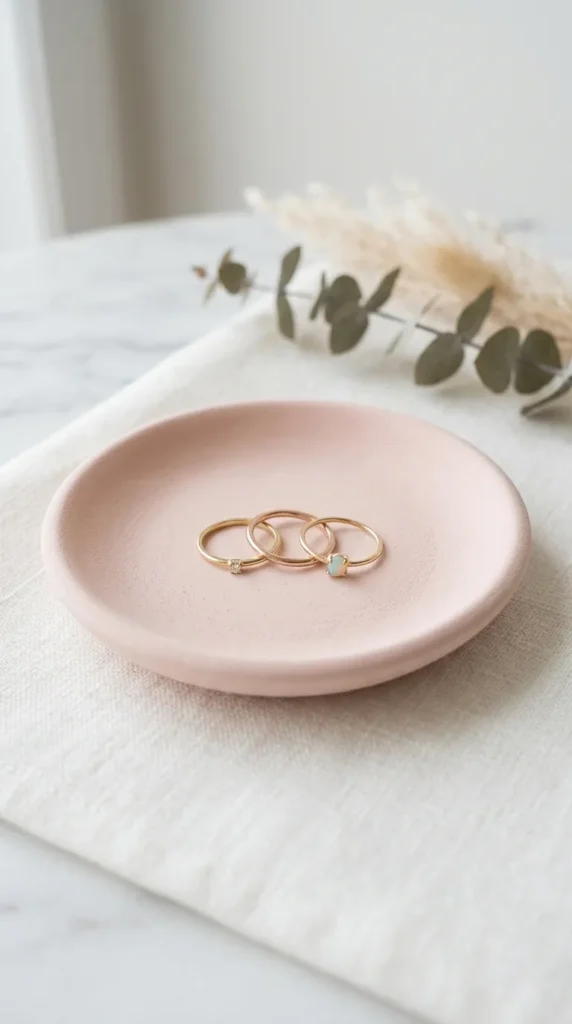
1. The Classic Salt Dough Clay
The undisputed patriarch of homemade clays, salt dough has been a staple of family craft rooms and school art classes for generations due to its simplicity and rock-hard durability when baked.
- Introduction: Inexpensive and versatile, salt dough is ideal for handprint keepsakes, rustic Christmas ornaments, gift tags, and basic sculptural forms. Its high salt content acts as a natural preservative while contributing to its structural integrity during the baking process.
- Ingredients Needed: 2 cups all-purpose flour, 1 cup fine table salt, 3/4 to 1 cup warm water, 1 tablespoon vegetable oil (optional, for added elasticity).
- How to Make It: In a large mixing bowl, whisk together the flour and salt until thoroughly combined. Gradually pour in the warm water and vegetable oil while stirring with a wooden spoon until a shaggy dough forms. Turn the mixture out onto a clean, floured countertop and knead vigorously for 8 to 10 minutes until the dough becomes smooth, pliable, and elastic. If it feels too sticky, dust with a tiny bit of flour; if too crumbly, add drops of water. Store in an airtight container or zip-top bag until ready to use. Bake finished pieces at 250°F (120°C) for 2 to 3 hours until completely dried through.
2. Cornstarch and Glue Cold Porcelain Clay
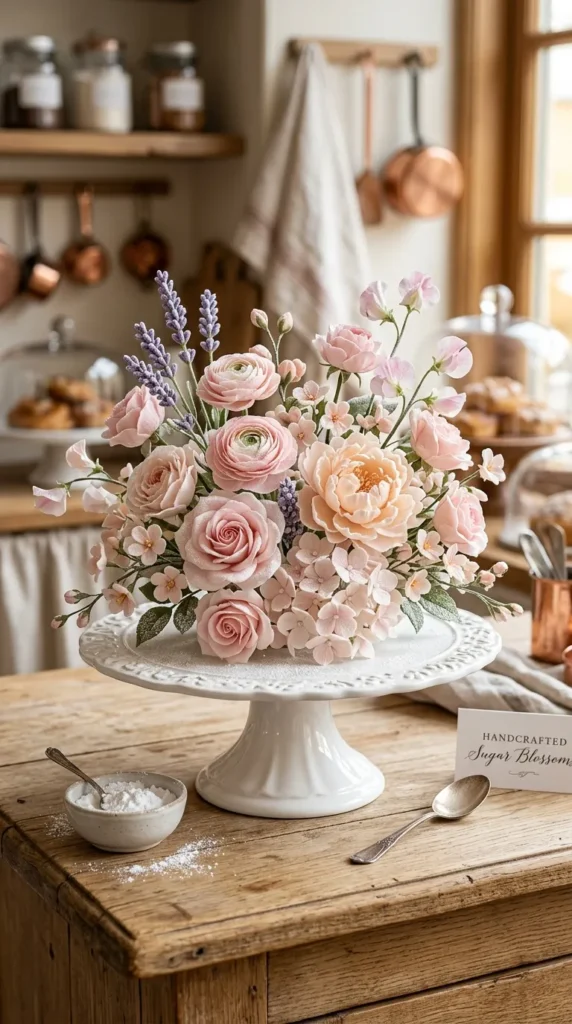
Often referred to as “cold porcelain,” this revolutionary recipe mimics the smooth, translucent finish and fine detail retention of fired ceramic or genuine porcelain without ever needing a kiln or oven.
- Introduction: Renowned for its luxurious finish, cold porcelain dries completely smooth, shrinks slightly as it cures, and can be sanded or painted once fully dry. It is the gold standard for hyper-realistic flower petals, delicate jewelry, and intricate miniatures.
- Ingredients Needed: 1 cup white PVA craft glue (school glue or Elmer’s), 1 cup cornstarch, 2 tablespoons baby oil or mineral oil, 1 tablespoon white vinegar (acts as a preservative and prevents mold), and 1 teaspoon cold cream or lotion (for kneading).
- How to Make It: In a non-stick saucepan over low heat, combine the glue, cornstarch, baby oil, and white vinegar. Stir continuously with a silicone spatula. As the mixture heats, it will rapidly transform from a milky liquid into a lumpy, mashed-potato-like consistency, and finally clump together into a cohesive ball that pulls away from the pan sides (usually within 5 to 7 minutes). Remove immediately from heat. Rub cold cream onto your hands and knead the hot dough vigorously on a clean surface until cool and completely smooth. Wrap tightly in plastic wrap and store in an airtight container.
3. Baking Soda and Cornstarch Porcelain-Style Clay
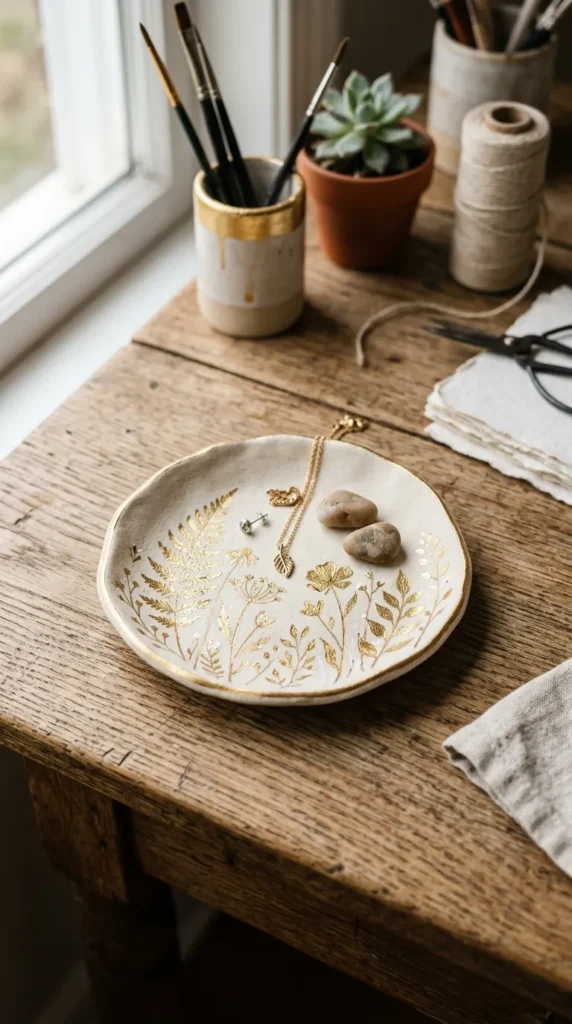
If you love the look of cold porcelain but want a brighter, stark-white clay that requires zero cooking or heat on the stove, this no-cook ceramic alternative is your ultimate solution.
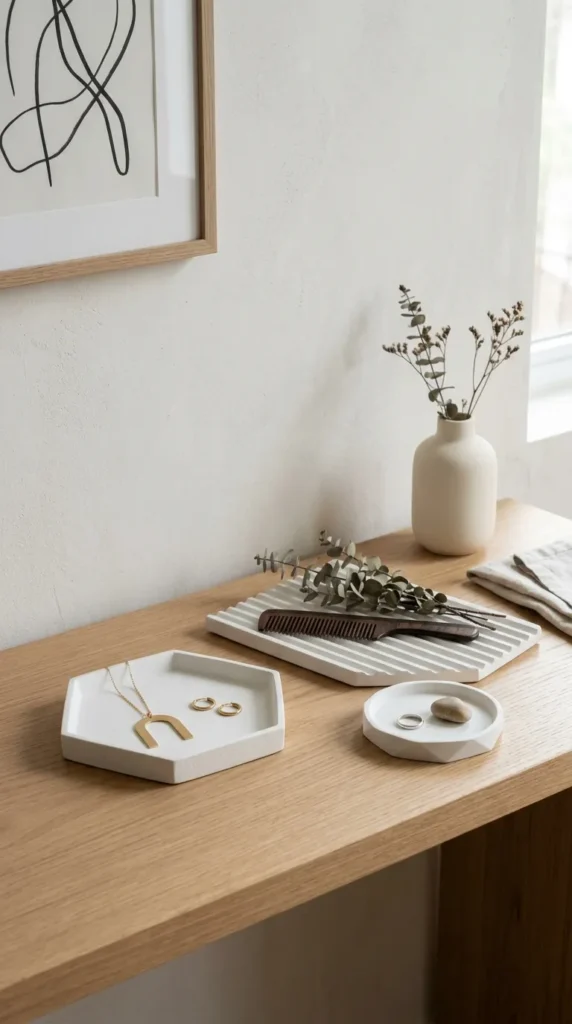
- Introduction: This brilliant cold-mix recipe yields a remarkably bright white, porcelain-like clay that air-dries into a smooth, matte finish, making it fantastic for modern minimalist trinket dishes and geometric home decor.
- Ingredients Needed: 1/2 cup cornstarch, 1 cup baking soda, 3/4 cup cold water, and optional white acrylic paint or mica powder for base tinting.
- How to Make It: In a small saucepan (off the heat), whisk together the cornstarch, baking soda, and cold water until smooth and free of lumps. Turn the burner to medium heat and stir constantly. The mixture will quickly bubble, thicken, and form a thick paste akin to mashed potatoes. Remove from heat the moment it thickens, transfer to a heat-safe bowl, and cover with a damp paper towel to cool. Once safe to handle, knead the dough on a cornstarch-dusted surface until soft and pliable. Air dry finished pieces on parchment paper, flipping them occasionally to ensure even drying.
4. Bread and Glue Paper Craft Clay
Transforming stale sandwich bread into a velvety, highly sculpturable crafting clay is a vintage artisan secret that yields surprisingly durable, lightweight results.
- Introduction: Highly textured and incredibly forgiving, bread clay is lightweight when dry and can be molded around wire armatures to create miniature sculptures, dolls, and organic forms.
- Ingredients Needed: 8 slices of white sandwich bread (crusts completely removed), 2 tablespoons white PVA glue, 1 teaspoon glycerin or cold cream (to prevent cracking), and a few drops of dish soap.
- How to Make It: Tear the crustless white bread slices into tiny, fine crumbs inside a mixing bowl. Add the white glue, glycerin, and dish soap directly to the crumbs. Work the mixture with your fingers, mashing and kneading until the bread breaks down completely and blends with the liquid to form a smooth, sticky, dough-like consistency. Knead on a clean board until it no longer sticks to your fingers. Because of its organic nature, coat finished dried pieces with a clear acrylic sealer to ensure longevity.
5. Oatmeal Organic Sensory Clay
Designed specifically for households with young children or sensory-seeking crafters, this tactile, 100% biodegradable clay is entirely non-toxic, edible-safe, and wonderfully textured.
- Introduction: Featuring a rustic, stone-like texture reminiscent of handmade earthenware once dry, this organic oatmeal clay provides an earthy tactile experience without a single synthetic chemical.
- Ingredients Needed: 2 cups rolled oats (finely ground into flour using a food processor), 1 cup all-purpose flour, 1 cup water, and 2 tablespoons cooking oil.
- How to Make It: Grind the rolled oats in a blender or food processor until they resemble a fine, powdery flour. In a mixing bowl, combine the oat flour and regular flour. Slowly pour in the water and oil, stirring with a spoon until a thick, cohesive dough forms. Knead on a floured surface for 5 minutes until soft and pliable. Sculpt your pieces and let them air-dry over 24 to 48 hours. The dried pieces feature a charming, speckled, rustic oatmeal-flake texture.
6. Coffee Ground Rustic Sculpting Clay
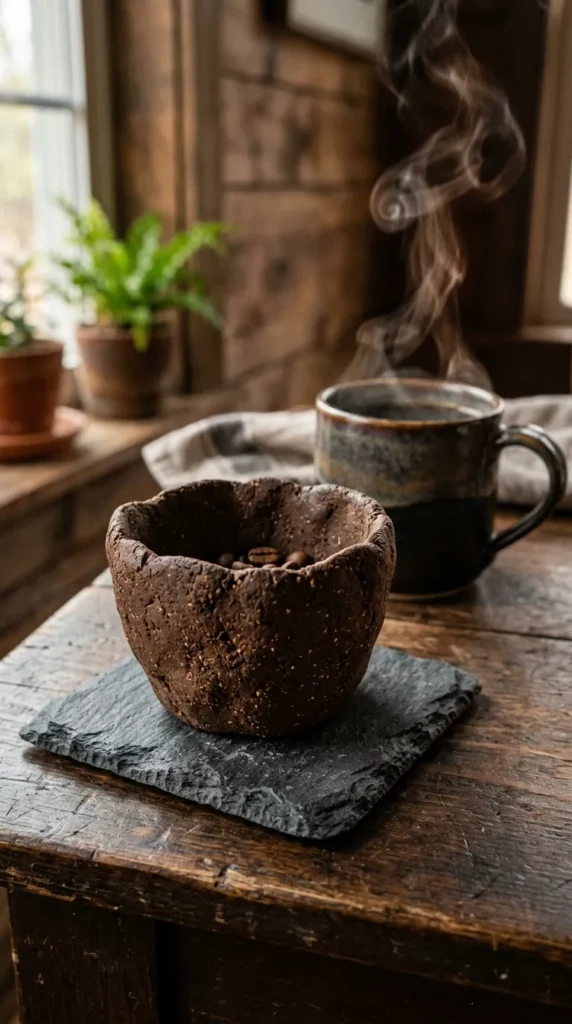
Infused with real aromatic coffee grounds, this tactile clay fills your studio with the rich scent of espresso while drying into a textured, stone-like finish that looks remarkably like volcanic rock or terracotta.
- Introduction: Perfect for rustic plant pots, earthy sculptures, and textured wall art, this coffee clay adds natural depth and a gorgeous brown patina to your handmade creations.
- Ingredients Needed: 1 cup used coffee grounds (dry or slightly damp), 2 cups all-purpose flour, 1 cup salt, and 3/4 cup warm water.
- How to Make It: In a large bowl, mix the coffee grounds, flour, and salt together until well-blended. Gradually add the warm water while kneading the mixture with your hands. Work the dough until it holds together smoothly and feels pliable. The coffee grounds will give the clay a gritty, natural texture and a rich brown hue. Shape your items and allow them to air dry slowly over 2 to 3 days, or bake in a low oven at 200°F (95°C) until thoroughly hardened.


7. Liquid Dish Soap and Cornstarch Foam Clay
Lightweight, airy, and whipped to perfection, this foaming craft clay is an absolute delight to shape and offers a squishy, cloud-like texture before drying.
- Introduction: Yielding a super-lightweight finished product that resembles marshmallow foam or lightweight EVA foam, this recipe is ideal for floating crafts, lightweight ornaments, and tactile sculptures.
- Ingredients Needed: 1 cup cornstarch, 1/2 cup liquid dish soap (blue or clear formulations work best), and a few drops of food coloring or watercolor paint.
- How to Make It: Pour the cornstarch and liquid dish soap into a mixing bowl. Stir vigorously with a spoon or silicone spatula. The mixture will initially look separated, but as you work it, it will transform into a rich, glossy, whipped-cream texture. If it feels too powdery, add a few drops of dish soap; if too wet, dust with additional cornstarch. Knead by hand until smooth. Shape your creations on parchment paper and let them air dry for 24 hours.
8. Alum and Flour Play Dough
A classic, preservative-packed dough recipe that prioritizes extended shelf-life and vibrant color absorption, making it a reliable staple for multi-day sculpting projects.
- Introduction: Featuring cream of tartar and alum powder, this traditional cooked dough resists bacterial growth and maintains its bright, vivid color pigments for months when stored properly.
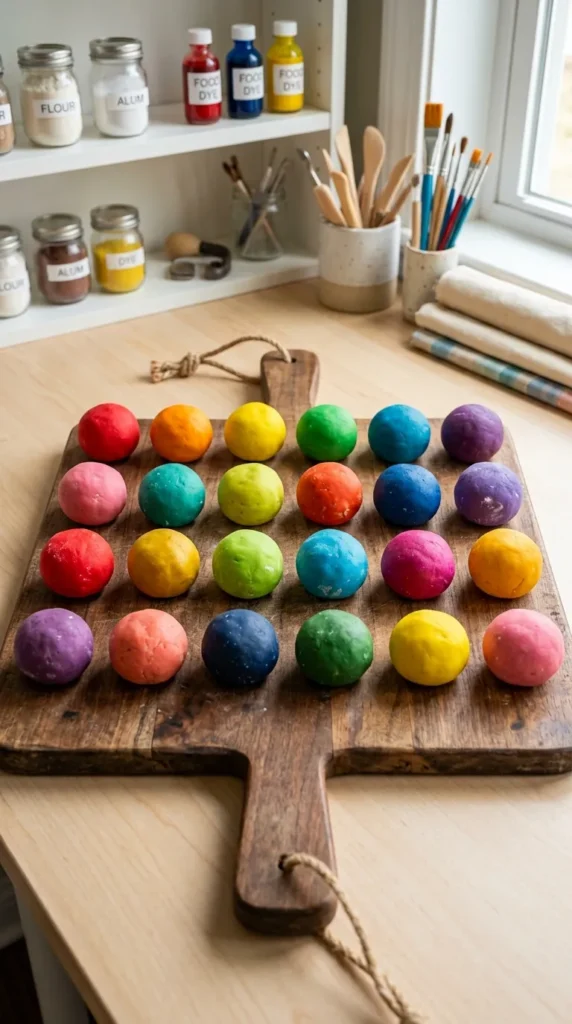
- Ingredients Needed: 2 cups all-purpose flour, 1 cup salt, 2 tablespoons cream of tartar, 2 tablespoons alum powder, 2 cups water, 2 tablespoons vegetable oil, and liquid food coloring.
- How to Make It: Whisk the flour, salt, cream of tartar, and alum powder together in a large saucepan. In a separate container, mix the water, vegetable oil, and your chosen food coloring. Pour the wet ingredients into the dry ingredients and stir over medium heat. Stir constantly with a wooden spoon. Within a few minutes, the mixture will thicken dramatically and pull away from the pan into a massive clump. Remove from heat, let cool slightly, and knead on a clean counter until completely smooth.
9. Jell-O Scented Sensory Clay
Engage multiple senses at once with this brilliantly colored, sweet-smelling fruit-scented clay that brings a pop of vibrant color and nostalgic aroma to your crafting sessions.
- Introduction: Using flavored gelatin powder as both a vibrant natural dye and a potent scent booster, this clay smells incredible and creates cheerful, brightly colored sculptures.
- Ingredients Needed: 1 cup all-purpose flour, 1/4 cup salt, 1 packet of flavored gelatin (like strawberry, lime, or blue raspberry), 1 tablespoon vegetable oil, and 1 cup boiling water.
- How to Make It: In a mixing bowl, combine the flour, salt, and the packet of gelatin powder. Pour in the vegetable oil and boiling water. Stir carefully with a wooden spoon until the mixture cools enough to handle safely. Knead the dough thoroughly until the gelatin color is evenly distributed and the dough reaches a soft, pliable consistency. Store in an airtight container in the refrigerator to keep the scent fresh and prevent drying.
10. Beeswax and Rosin Modeling Clay
Steeped in ancient history, this traditional sculpting medium softens with the warmth of your hands and hardens at room temperature, making it a favorite for historical reenactors and master sculptors.
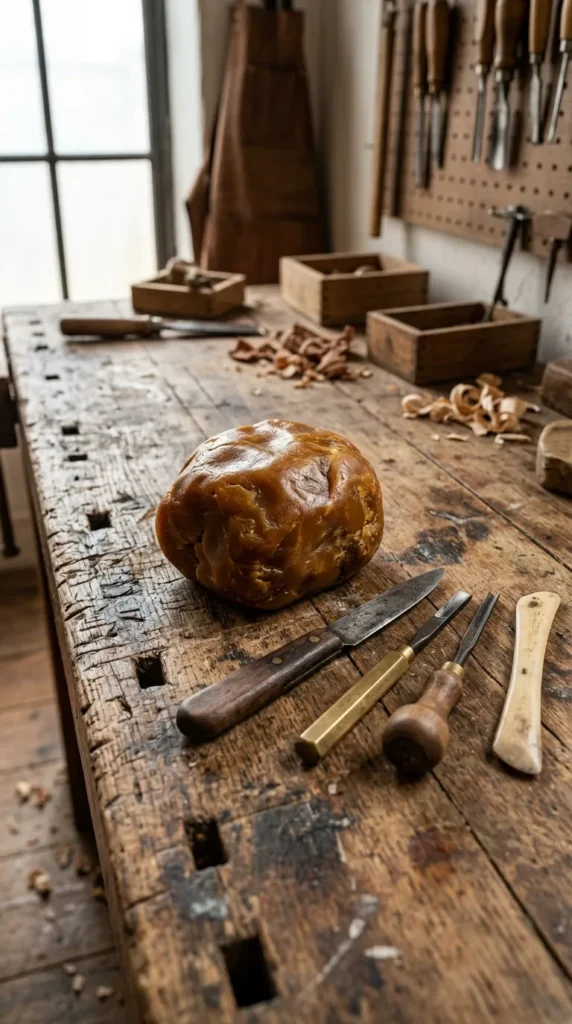
- Introduction: Completely natural, water-resistant, and endlessly reusable if warmed gently, beeswax-based modeling clay provides a luxurious, tactile sculpting experience with a subtle honey aroma.
- Ingredients Needed: 1 cup cosmetic-grade beeswax pellets, 1/4 cup pine rosin powder (or natural resin), 1 tablespoon organic coconut oil, and 1/2 cup fine powdered clay (like bentonite or kaolin) as a filler.
- How to Make It: Using a double boiler, melt the beeswax pellets, pine rosin, and coconut oil together over low heat until fully liquefied. Slowly whisk in the powdered bentonite or kaolin clay to act as a body filler, ensuring no lumps remain. Pour the warm liquid mixture into a shallow silicone mold or onto a parchment-lined tray to cool and harden. To use, break off a piece and warm it between your palms; the body heat softens it instantly for sculpting.
11. Paper Mache Pulp Clay
Fibrous, incredibly durable, and virtually unbreakable when dry, paper mache pulp clay is the ultimate medium for large structural sculptures, masks, and robust vessels.
- Introduction: By breaking paper fibers down into a fine, smooth pulp and binding them with flour and glue, this heavy-duty clay can be sanded, carved, and painted just like wood or plaster.
- Ingredients Needed: 2 cups shredded plain white paper or newspaper, 4 cups hot water, 1/2 cup all-purpose flour, 1/4 cup white glue, and 2 tablespoons linseed oil.
- How to Make It: Soak the shredded paper in hot water for at least 4 hours (or overnight) until completely soft. Blend the soaked paper in a food processor or blender until it forms a uniform, pulpy mush. Strain out excess water using a cheesecloth or fine mesh strainer. In a mixing bowl, combine the damp paper pulp with flour, white glue, and linseed oil. Knead the mixture thoroughly until it binds into a thick, moldable clay dough. Sculpt over wire or cardboard armatures and allow 3 to 5 days to dry completely.
12. Chalkboard Paint Mineral Clay
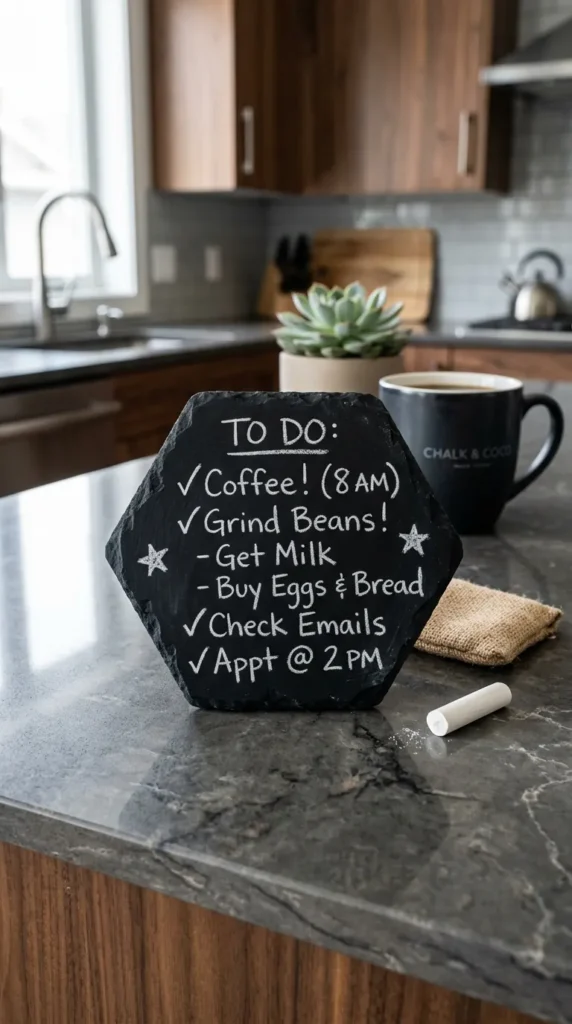
A novel twist on air-dry clay, this specialized recipe incorporates chalkboard paint into the wet mix, resulting in a matte, dark slate clay that can actually be written on with chalk once dry.
- Introduction: Interactive, modern, and wonderfully unique, this chalkboard clay allows you to sculpt functional tags, labels, coasters, and message boards that double as usable chalk surfaces.
- Ingredients Needed: 1 cup cornstarch, 2 cups baking soda, 3/4 cup water, and 3 tablespoons black or dark green acrylic chalkboard paint.
- How to Make It: In a saucepan, whisk together the cornstarch, baking soda, and water. Heat over medium while stirring constantly until the mixture thickens into a thick paste. Remove from heat and stir in the chalkboard paint until the color is deep and uniform. Let cool under a damp cloth, then knead on a cornstarch-dusted mat until smooth. Shape your items, let them air dry for 48 hours, and season the dried surface with chalk before wiping clean for use.
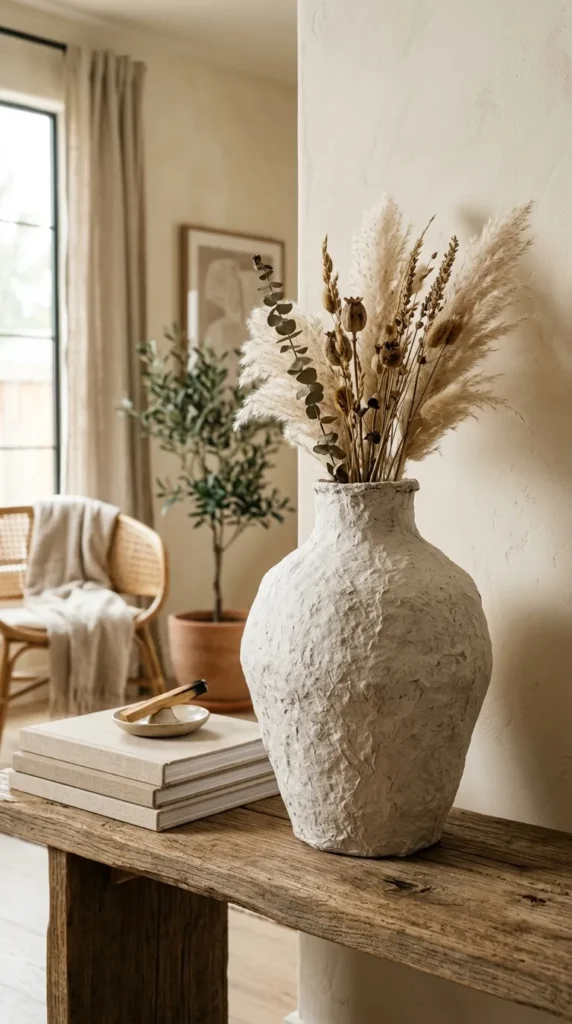
13. Sand and Flour Beachy Sculpting Clay
Capture the rugged, textured essence of coastal sand dunes in your home decor with this gritty, sand-infused sculpting clay that dries to look like weathered beach stone.
- Introduction: By replacing a portion of the flour with fine craft sand or beach sand, this recipe creates an incredible textured tactile medium that screams coastal elegance.
- Ingredients Needed: 1 cup fine craft sand (or clean, sifted beach sand), 1 cup all-purpose flour, 1 cup salt, and 3/4 cup warm water.
- How to Make It: In a mixing bowl, combine the sand, flour, and salt. Slowly add the warm water while stirring and kneading until a cohesive, slightly textured dough forms. Because sand adds weight and grit, knead thoroughly to ensure the gluten in the flour binds the sandy particles together. Sculpt bowls, trays, or decorative stones, and let them air dry completely. The finished pieces have a delightful, matte stone-like texture that looks stunning when left unpainted or brushed with white acrylic wash.



14. Chia Seed Biodegradable Plantable Clay
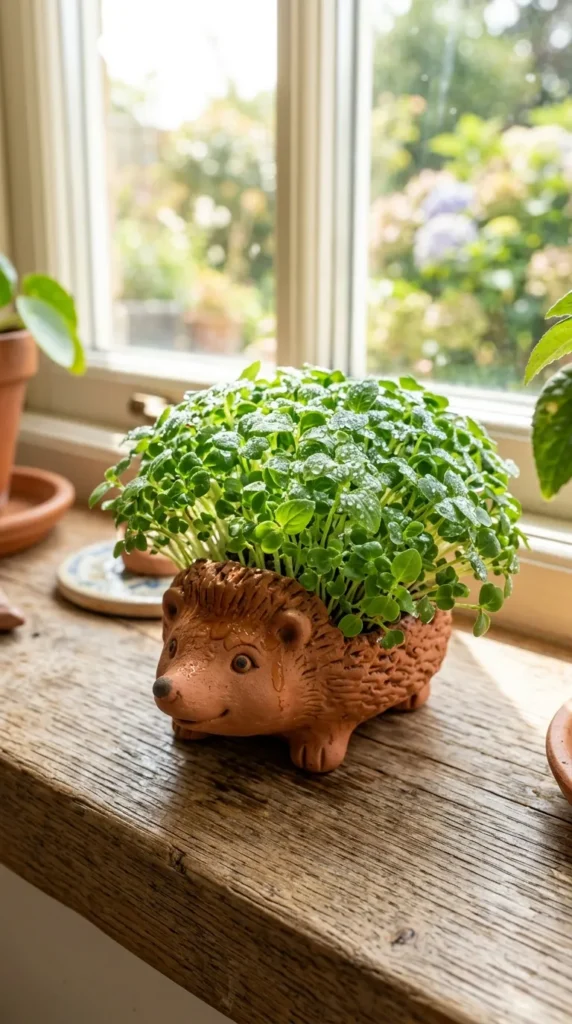
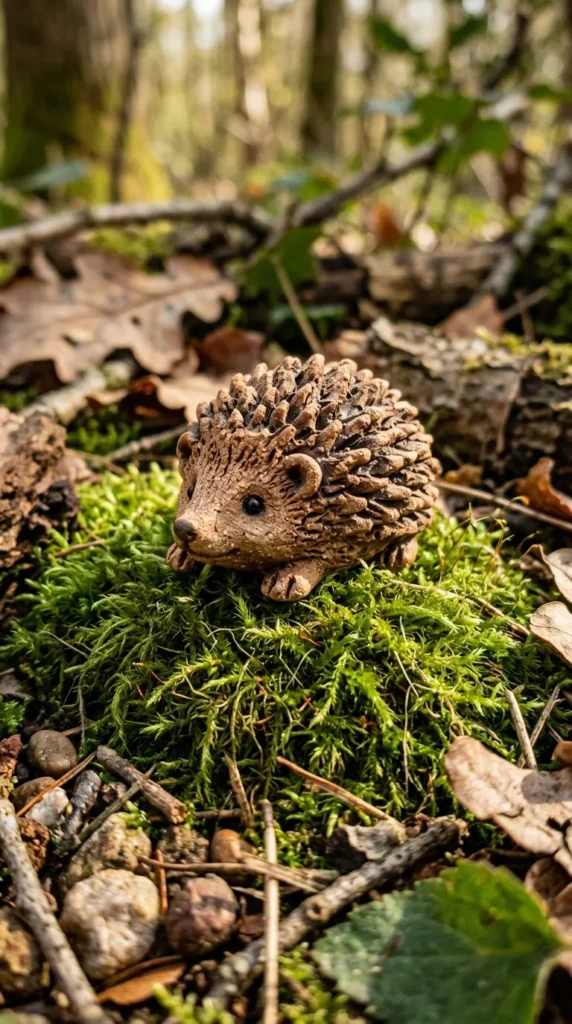
An eco-friendly marvel, this interactive clay incorporates live chia seeds directly into the medium, allowing you to sculpt organic forms that literally sprout vibrant green microgreens when watered.
- Introduction: Perfect for eco-crafts, children’s garden projects, and whimsical nature art, this plantable clay turns sculptures into living, breathing botanical displays.
- Ingredients Needed: 1/2 cup dry chia seeds, 1 cup potting soil or fine peat moss, 1 cup flour, 1/2 cup water, and a dash of liquid soap.
- How to Make It: In a bowl, mix the flour, potting soil, and water to create a rich earth-colored dough. Gently fold in the dry chia seeds at the very end to prevent them from bursting prematurely. Shape the clay into fun shapes like animal figures, garden gnomes, or simple spheres. Mist the dried or drying sculpture daily with a spray bottle of water; within 3 to 5 days, green chia sprouts will emerge directly from the surface of your sculpture!
15. Corn Syrup and Powdered Sugar Edible Fondant-Style Craft Clay
If your crafting ambitions lean toward edible art, cake decorating, or sugar-crafting, this sweet, pliable modeling clay behaves like professional fondant while tasting delicious.
- Introduction: Smooth, silky, and completely edible, this sugary craft clay is perfect for sculpting cake toppers, edible gifts, and decorative holiday sweets.
- Ingredients Needed: 4 cups powdered sugar (confectioners’ sugar), 1/3 cup light corn syrup, 2 tablespoons warm water, 1 teaspoon clear vanilla extract, and vegetable shortening (for greasing hands).
- How to Make It: Sift the powdered sugar into a large mixing bowl to eliminate any lumps. Make a well in the center and pour in the corn syrup, warm water, and vanilla extract. Stir with a wooden spoon or silicone spatula until the mixture becomes too stiff to stir. Generously grease your hands with vegetable shortening and turn the dough out onto a powdered sugar-dusted counter. Knead vigorously for 5 to 8 minutes until smooth, pliable, and non-sticky. Wrap tightly in plastic wrap and store in an airtight container.
16. Toilet Paper Smooth Air-Dry Clay
Surprisingly refined and ultra-budget-friendly, this toilet paper clay breaks down paper fibers into an ultra-fine paste that yields exceptionally smooth, lightweight sculptures.
- Introduction: Utilizing standard bathroom tissue, this recipe is a favorite among budget-conscious prop makers and sculptors seeking a feather-light air-dry clay with zero graininess.
- Ingredients Needed: 1 full roll of standard white toilet paper, 1 cup white PVA glue, 2 cups cornstarch, 2 tablespoons baby oil, and 2 tablespoons white vinegar.
- How to Make It: Unroll a full roll of toilet paper into a large bucket, pour boiling water over it, and let it dissolve into a slurry. Strain out the excess water through a mesh bag. Transfer the wet paper pulp to a large bowl, and mix in the white glue, cornstarch, baby oil, and vinegar. Knead by hand until the mixture transforms into a smooth, homogeneous, velvety clay dough. Store in an airtight container and use for sculpting lightweight vases, bowls, and intricate models.
17. Talc-Free Baby Powder Soft Clay
Infused with cosmetic-grade baby powder or cornstarch-based body powder, this luxurious clay feels silky soft to the touch and imparts a clean, comforting scent to your crafting studio.
- Introduction: Gentle on hands and boasting a wonderfully velvety texture, this baby powder clay air-dries into a smooth, porcelain-like finish that takes acrylic paint and ink exceptionally well.
- Ingredients Needed: 2 cups talc-free baby powder (cornstarch-based), 1 cup white PVA craft glue, and 1 tablespoon lotion or cold cream.
- How to Make It: In a mixing bowl, combine the talc-free baby powder and white PVA glue. Stir with a spatula until a thick, cohesive dough begins to form. Add the lotion or cold cream to enhance flexibility and prevent premature cracking. Turn the dough out onto a powder-dusted surface and knead for 5 to 7 minutes until silky and smooth. Shape immediately into your desired projects and let air-dry on parchment paper for 24 to 36 hours.
18. Rice Flour Gluten-Free Craft Clay
For creators with wheat sensitivities who still want to enjoy traditional flour-based dough crafting, this 100% gluten-free rice flour alternative is safe, smooth, and reliable.
- Introduction: Substituting standard all-purpose wheat flour with fine white rice flour ensures a gluten-free environment while producing a clean, bright, and durable air-dry crafting clay.
- Ingredients Needed: 2 cups fine white rice flour, 1 cup salt, 1 tablespoon cream of tartar, 2 tablespoons vegetable oil, and 1.5 cups boiling water.
- How to Make It: In a large heat-safe bowl, whisk together the rice flour, salt, and cream of tartar. Pour in the vegetable oil and boiling water. Stir vigorously with a wooden spoon until the mixture forms a thick, cohesive mass. Once cool enough to touch safely, knead the dough on a rice flour-dusted surface until smooth, elastic, and completely free of lumps. Store in an airtight container or zip-top bag to maintain its pliable consistency.
19. Linseed Oil and Wood Flour Synthetic Wood Clay
Designed for master carpenters, woodworkers, and serious sculptors, this heavy-duty synthetic wood clay can be carved, sawed, nailed, and stained just like real timber.
- Introduction: Perfect for filling furniture gouges, sculpting intricate wooden appliques, or creating rugged sculptural pieces, this wood flour and linseed oil blend cures into a rigid, wood-like composite.
- Ingredients Needed: 2 cups fine wood flour (sanding dust from untreated hardwood), 1/2 cup boiled linseed oil, and 1/2 cup wheat paste or wood glue binder.
- How to Make It: In a ceramic bowl, combine the fine wood flour and wood glue binder. Slowly drizzle in the boiled linseed oil while kneading the mixture thoroughly. The resulting clay should feel dense, pliable, and similar to heavy putty. Press or sculpt the clay into place on your wooden projects or molds. Allow 48 to 72 hours for the linseed oil to oxidize and cure fully, after which the dried piece can be sanded, stained, varnished, or painted.
20. Gelatin and Glycerin Transparent Glass-Like Resin Clay
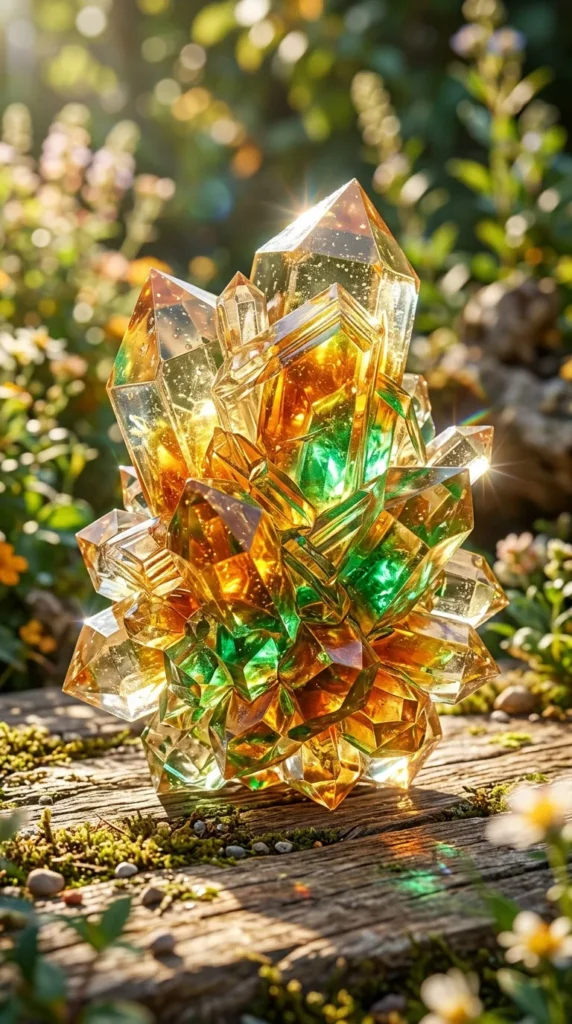
For a truly mesmerizing, ethereal crafting experience, this unique gelatin-and-glycerin recipe creates a semi-translucent, glass-like flexible clay that catches the light like stained glass or raw crystal.
- Introduction: Bending the rules of traditional opaque clays, this translucent medium is perfect for making faux sea glass, luminous nightlight diffusers, delicate stained-glass petals, and shimmering abstract gems.
- Ingredients Needed: 4 packets of unflavored gelatin, 1/2 cup distilled water, 1/4 cup vegetable glycerin, and liquid food dye in jewel tones.
- How to Make It: In a small saucepan, sprinkle the unflavored gelatin over the distilled water and let bloom for 5 minutes. Heat over low until the gelatin completely dissolves into a clear liquid. Stir in the vegetable glycerin and a drop or two of translucent food dye (like emerald green, ruby red, or sapphire blue). Pour the warm liquid into shallow silicone molds or onto a silicone mat in a thin layer. Allow it to set and cure in the refrigerator for 2 hours. Peel the resulting flexible, translucent, glass-like sheets away from the mat and cut or shape them into luminous creations.