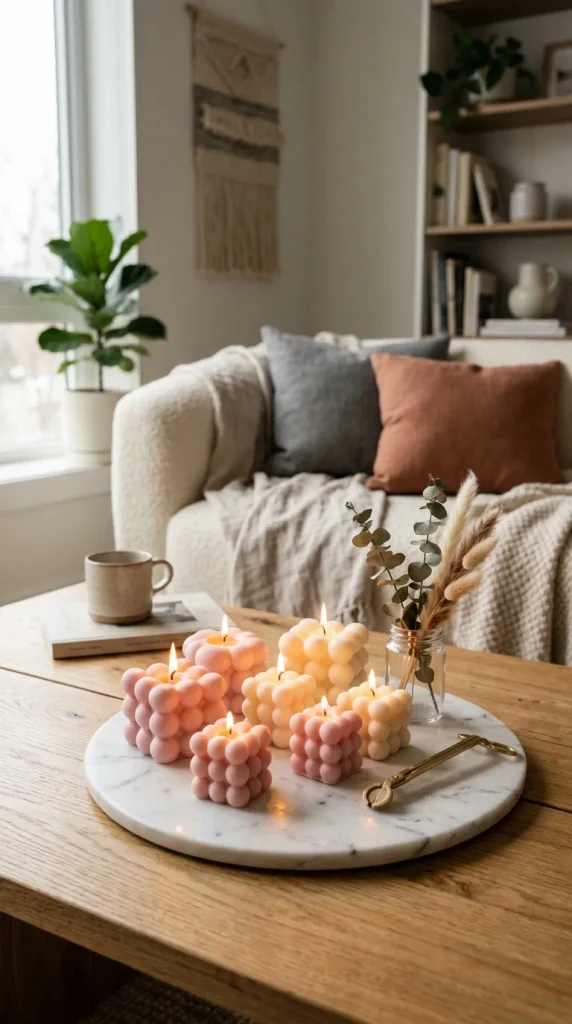
3. Hand-Poured Soy Wax Bubble Candles
Sculptural bubble candles serve as functional home decor, adding geometric architectural interest to coffee tables and bookshelves.
- Materials Needed: Silicone 3D bubble candle mold, 100% natural soy wax flakes, pre-waxed cotton candle wicks, wick centering tool (or wooden clothespin), digital kitchen scale, melting pitcher, fragrance oil (optional).
- Step-by-Step Instructions:
- Measure your soy wax flakes using a digital scale to determine the correct weight for your specific silicone mold size.
- Melt the wax flakes in a pouring pitcher placed inside a double boiler over medium-low heat until completely liquefied and clear.
- Remove the pitcher from heat, let it cool slightly, and stir in your preferred fragrance or essential oils if desired.
- Thread the cotton wick through the small pre-slit hole at the base of the silicone mold, sealing the exterior base securely with hot glue to prevent wax leakage.
- Suspend the top of the wick upright using a centering tool resting across the mouth of the mold.
- Pour the melted wax slowly and steadily into the mold cavity, avoiding splashing against the interior walls.
- Allow the candle to cure undisturbed at room temperature for 12 hours before gently peeling away the silicone mold.
- Tips & Variations: Pour the wax in two separate stages using contrasting dye colors to create a striking two-tone dipped architectural effect.
- Styling Ideas: Place atop a stack of vintage art books next to a ceramic tray holding brass matches and amber apothecary jars.